Action camera helmet mounts are a common method that allows you to document your sports and adventures. Whether you are skiing, cycling, rock climbing or other extreme sports, as long as you install the camera, you can record these wonderful moments at any time and share your experience with friends and family. This article will introduce how to properly use the action camera helmet mount to record your experience.
Choose the Right Action Camera
First, you need to choose an action camera that fits your sport and budget. There are many makes and models to choose from, including GoPro, SJCAM, DJI, and more. You can choose the camera that suits you best according to your needs and budget. Cameras with better brand names usually offer better image quality, water resistance, and stability, but are also relatively more expensive.
Determine the installation location
The installation position is one of the key steps in the helmet-mounted installation of the action camera. You need to determine the installation position of the camera to ensure that the camera can capture the picture you want to record. Typically, the camera will be mounted on the top or side of the helmet. You can determine the most suitable installation location based on your own experience and preferences.
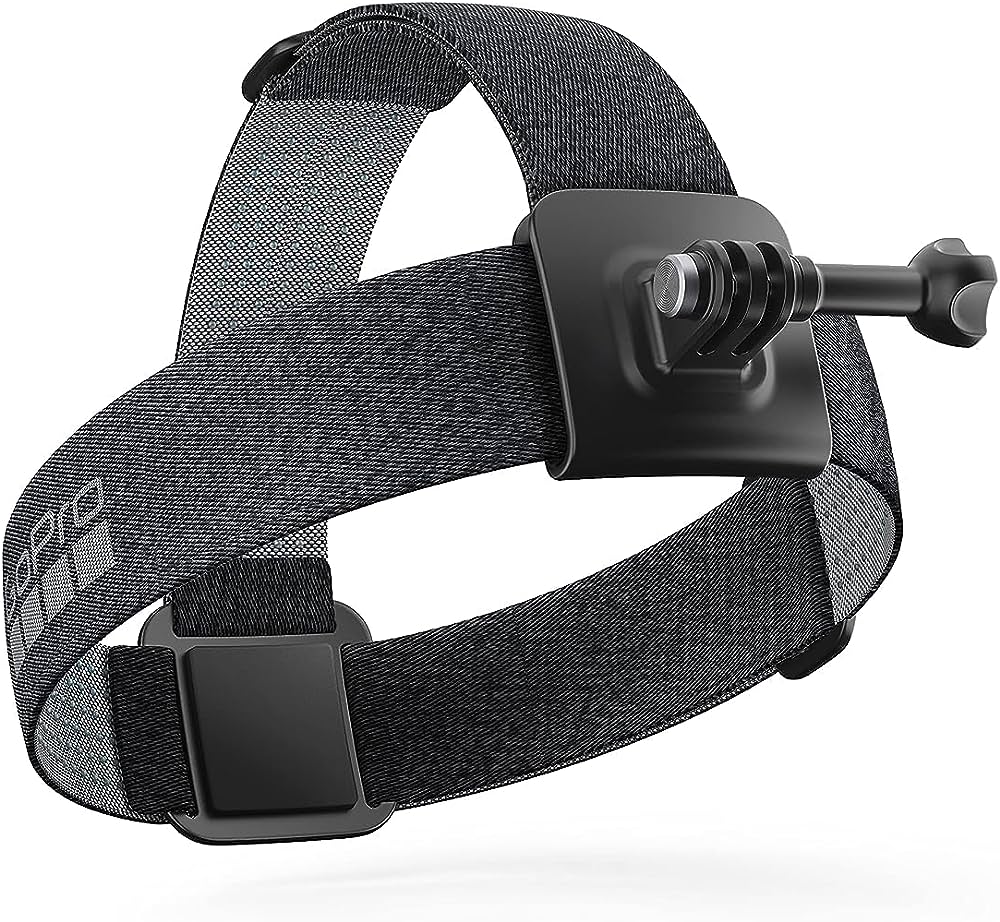
Install the bracket
Installing the mount is one of the key steps in the action camera helmet mount. Most action cameras come with a mount that you need to properly attach to your helmet. The fixing frame needs to be fastened on the helmet, and various buckles or other methods are used to ensure the stability of the camera. When installing the mount, you need to make sure that the mount is tight enough that the camera won’t loosen or fall out during motion.
Install camera
After installing the mount, you can mount the camera. The camera is usually attached to the mount by snaps or other means. When installing the camera, you need to make sure that the camera is positioned and oriented correctly, and adjust the angle and direction of the camera to ensure that you get the picture you want to record.
Adjust camera settings
Adjusting camera settings is one of the key steps in an action camera helmet mount. You need to choose different recording modes, resolutions, frame rates and other parameters according to your needs. High-resolution recordings may use more storage space, and high frame-rate recordings may consume more battery. You need to choose the most suitable setting according to your needs and actual situation.
Additionally, there are other accessories you might consider to enhance the effect of helmet mounts. For example, you can use an extension pole to change the camera’s angle and field of view, an image stabilizer to reduce shock and shake, and a waterproof case to protect the camera from water and debris. These accessories can be selected and used according to different sports and needs.
Integration with other equipment
Action camera headsets may be more tightly integrated with other gear to provide more functionality and a better experience. For example, the bracket can be connected with smart phones, smart watches and other devices to realize functions such as remote shooting and real-time sharing. In addition, the bracket may be integrated with other sports equipment, helmets, etc. To provide a more comprehensive solution for sports shooting. By integrating different devices, the action camera head mount can better meet the needs of users and provide a wider range of application scenarios.
To sum it up, using an action camera helmet mount is a convenient and effective way to document your experiences. By choosing the right camera, installing a mount, adjusting camera settings, and documenting and sharing the experience, you can capture those exciting and memorable moments. Whether in extreme sports or other exciting activities, the action camera helmet mount can help you record and keep it forever. So, hurry up and choose a sports camera that suits you, and start recording your experience!