As a shooting tool, the consumer electronic is relatively simple to install and use. But due to different brands and models, the installation method may be slightly different. This article will take the general head-mounted bracket as an example to introduce the installation method of the action camera head-mounted bracket to help users use this device better.
Install camera
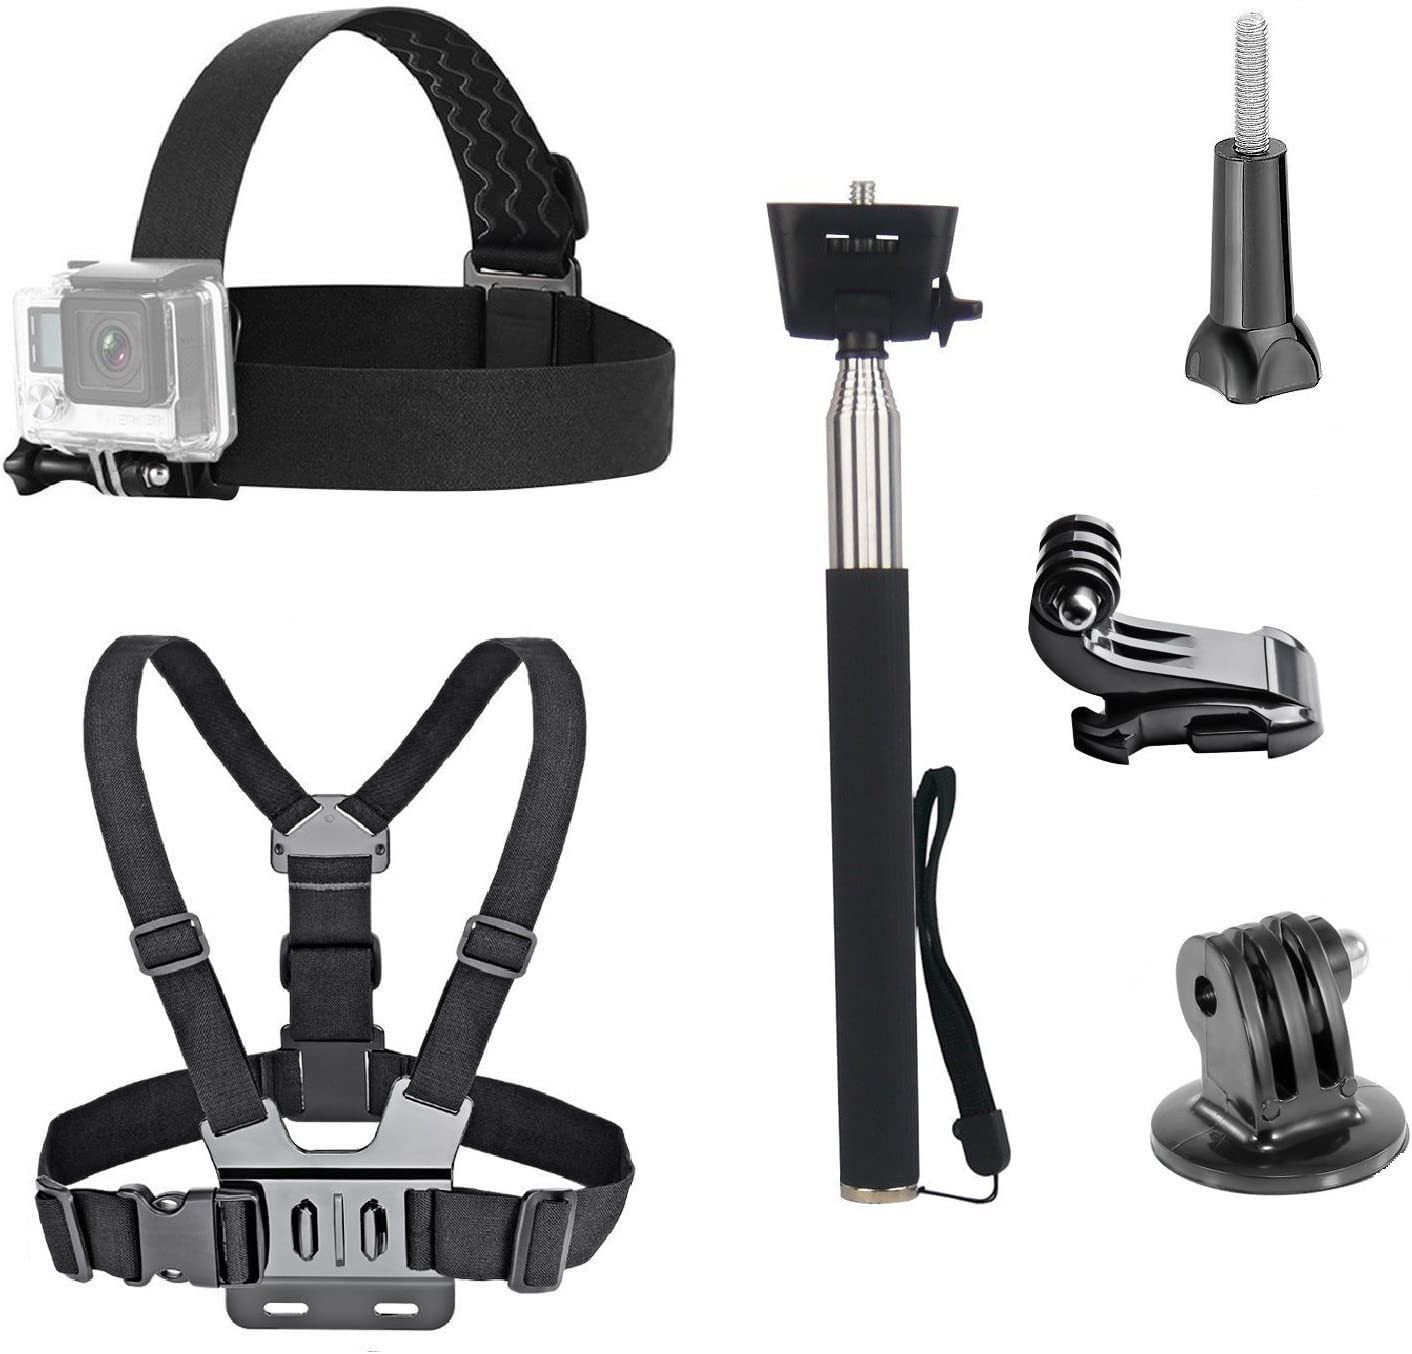
The first step is to mount the camera on the head mount. First, find the camera mount. Some mounts may come with special mounts, while others require the use of mounts that came with the camera. To install the fixture on the camera, it usually needs to be fixed with screws.
Next, attach the camera to the headset. Typically, the attachment portion of the headset will have a slot or mount that allows the camera to be inserted or attached to it. Make sure the camera is firmly installed on the bracket to avoid the camera from loosening or falling off during shooting.
Adjustment bracket
The second step is to adjust the headset for comfort and stability. How the bracket is adjusted may vary by make and model, but generally follow the steps below.
First, wear the headset. Adjust the headband and cradle so that it fits snugly and comfortably. Make sure the brace doesn’t slide or wobble, and it doesn’t put pressure or discomfort on your head.
Next, adjust the shooting angle of the camera. According to needs, the position and angle of the bracket can be adjusted to obtain the best shooting field of view and angle. Some mounts may be equipped with adjustments that allow easy adjustment of the camera’s angle and height.
Finally, make stability adjustments. Some mounts may be equipped with stabilizers or anti-shake technology to reduce shaking and shaking. Make sure the mount and camera are in a stable position to minimize movement and vibration.
Use stand
The third step is to start shooting with the head mount. According to needs, some other adjustments and operations can be performed, such as adjusting the camera’s aperture, shutter speed and ISO value, etc., to obtain the best shooting effect.
Pay attention to the following aspects:
- Security: Before any filming activity takes place, security needs to be ensured. Avoid using the mount in hazardous or unsafe environments to prevent damage to the camera and mount or personal injury.
- Battery life: Action cameras may have limited battery life, so make sure the battery is fully charged or has a backup power source.
- Memory card: During the shooting process, it is necessary to ensure that the capacity of the memory card is sufficient to avoid insufficient storage during the shooting process.
- Steady handling: When shooting with a head mount, it needs to be stable. Try to avoid turning your head suddenly or making sharp movements to avoid camera shake or affect the shooting effect.
To sum up, the installation method of the action camera head mount is relatively simple. First you need to mount the camera on the bracket, then adjust the bracket for comfort and stability. When shooting with a stand, you need to pay attention to issues such as safety, battery life, memory card capacity, and operational stability.
In addition to the installation method, there are some other aspects to pay attention to. For example, head mounts should be cleaned regularly to avoid accumulation of dust and grime. In addition, some accessories can be purchased according to needs, such as waterproof case, extension rod and head, etc., to expand the possibility and choice of shooting.
All in all, the action camera head mount is a very useful tool that can help users take more shocking and vivid videos and photos. When using the head-mounted bracket, you need to follow the installation method and precautions to ensure safety and shooting effects.