Making your own mouse pad is not only an easy and fun DIY project, but it also allows you to personalize your workspace with a little creativity. With just some basic materials and a little time, you can make a mouse pad that perfectly suits your style and ergonomic needs. This article will guide you through the latest steps for making your own desk accessories in 2024.
Planning Your Design
Choosing the Right Materials
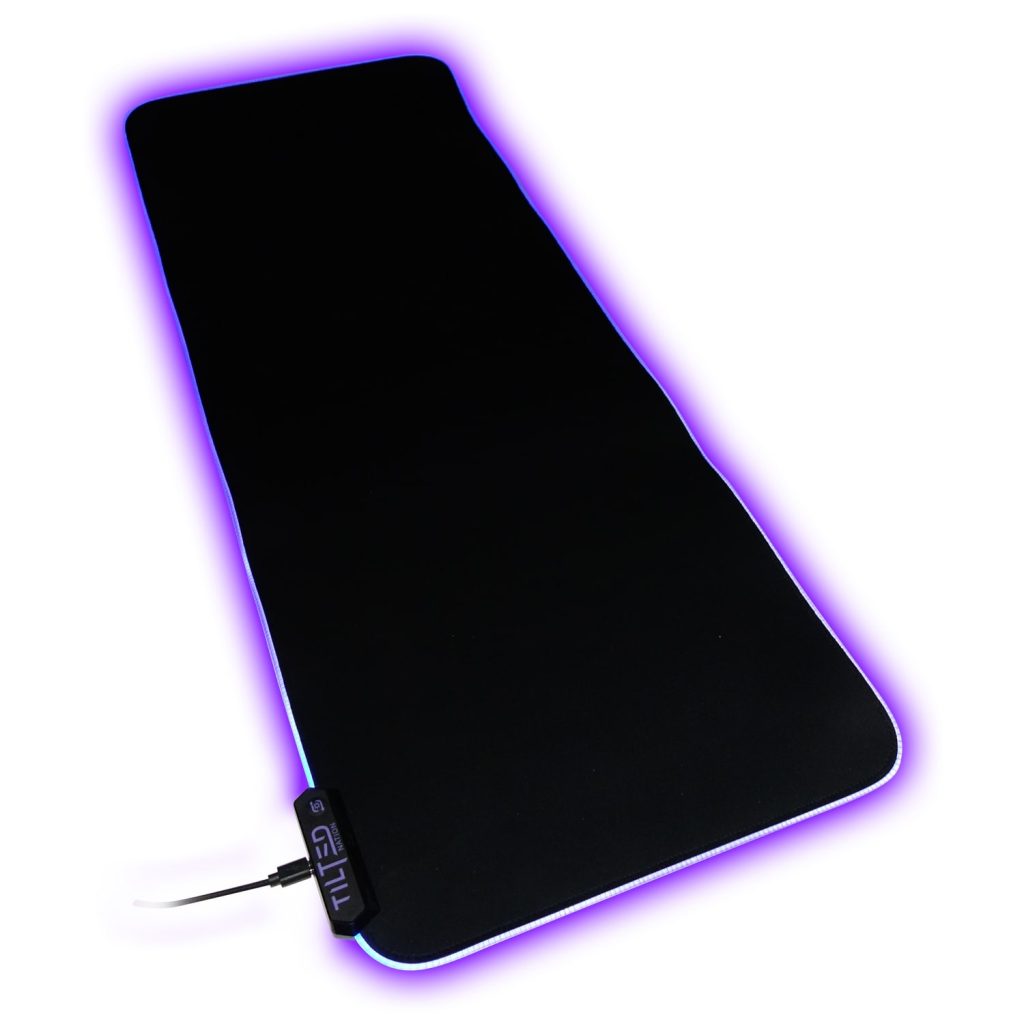
The first step in crafting a mouse pad is selecting the material for the surface and the base. For the surface, choose a fabric that suits your needs – smooth for easy mouse movement or textured for more precise control. Common choices include neoprene or a simple cloth surface. For the base, a non-slip rubber or foam provides stability and a bit of cushioning for comfort.
Determining Size and Shape
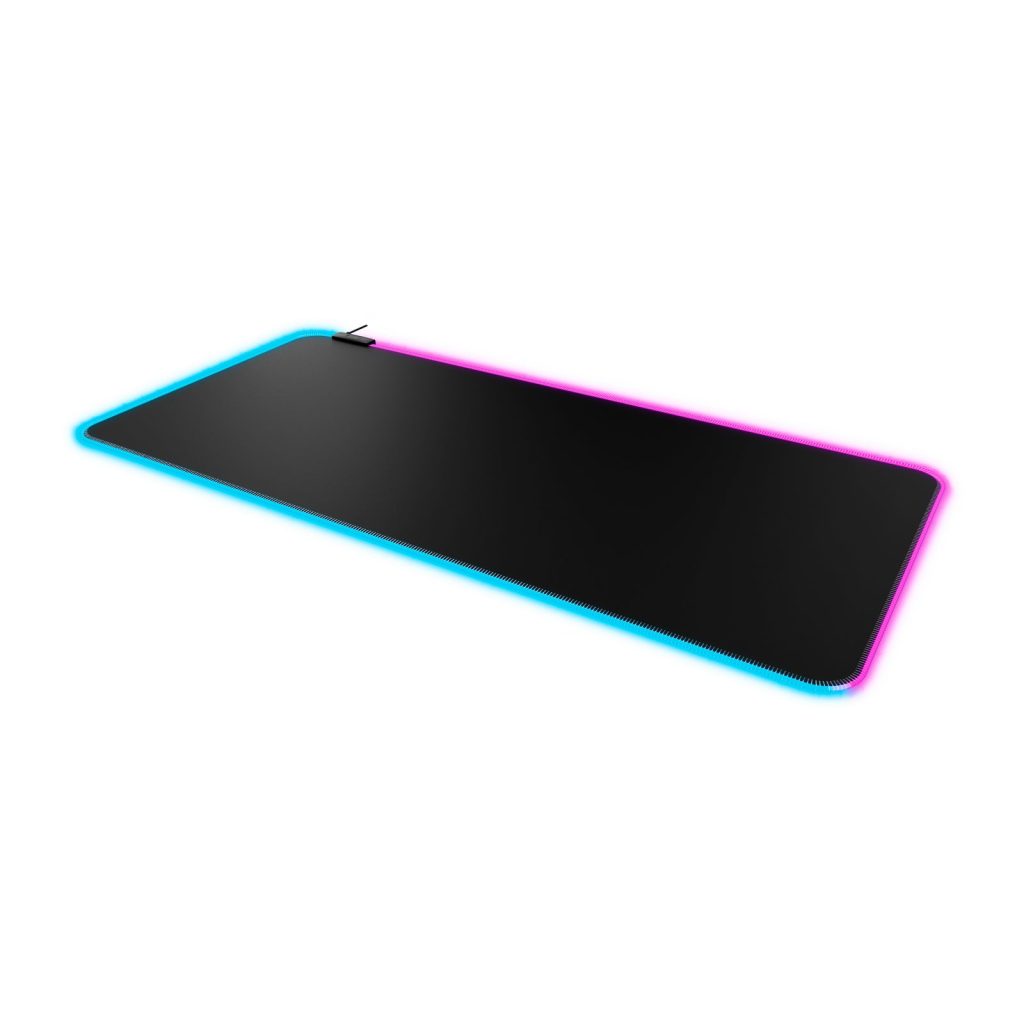
Decide the size and shape of your mouse pad based on the space available on your desk and your personal preference. Standard mouse pads are usually rectangular, but don’t be afraid to get creative – circular, oval, or even a custom shape that speaks to your personality. Ensure that the size you choose gives your mouse plenty of space to move without overshooting the pad.
Crafting the Base of Your Mouse Pad
Cutting the Base Material
Once you have your materials, measure and mark the dimensions of your mouse pad on the base material using a ruler or a tape measure and a marker. Use sharp scissors or a craft knife and a cutting mat to cut the base to your desired shape and size. Accuracy is key to ensure a professional-looking finish.
Ensuring a Flat Surface
After cutting your base, you should make sure it’s completely flat before attaching the top fabric. Lay it on your desk and press out any curls or rolls that may have formed, especially if the material was stored in a rolled-up state. A flat base will ensure your mouse pad stays put and offers a consistent surface for your mouse.
Preparing the Top Surface
Cutting the Fabric
Using the base as a template, place it onto the fabric and trace around it with a fabric marker, leaving a little extra fabric on the edges for a clean finish. Cut out the traced shape, carefully following the lines to ensure your fabric is the perfect size for coverage with a bit of overlap.
Attaching Fabric to Base
To attach the fabric to the base, you can use fabric glue or double-sided adhesive sheets. Apply a thin, even layer of adhesive, making sure to reach the edges. Align the fabric on top, starting from one edge and smoothing it down to prevent air bubbles or wrinkles. For added durability, you can sew the edges of the fabric to the base using a sewing machine or hand-stitching.
Finishing Touches
Trimming Excess Material
Once the fabric is securely attached, you may need to trim any excess material from the edges. This will give your mouse pad a cleaner look. Be sure to use sharp scissors for this step to prevent fraying and to maintain a straight edge.
Adding Decorative Elements
Customize your homemade mouse pad by adding decorative elements such as painted designs, iron-on transfers, or fabric markers. Ensure any decorations you add won’t interfere with the function of your mouse. It’s best to decorate the peripheral parts of the pad while leaving the central area smooth for mouse movement.
Testing and Adjusting
Checking Mouse Movement
After completing your mouse pad, test it with your mouse to ensure that the movements are smooth and accurate. If you find your mouse isn’t moving as well as you’d like, you may need to consider a different surface material with less friction.
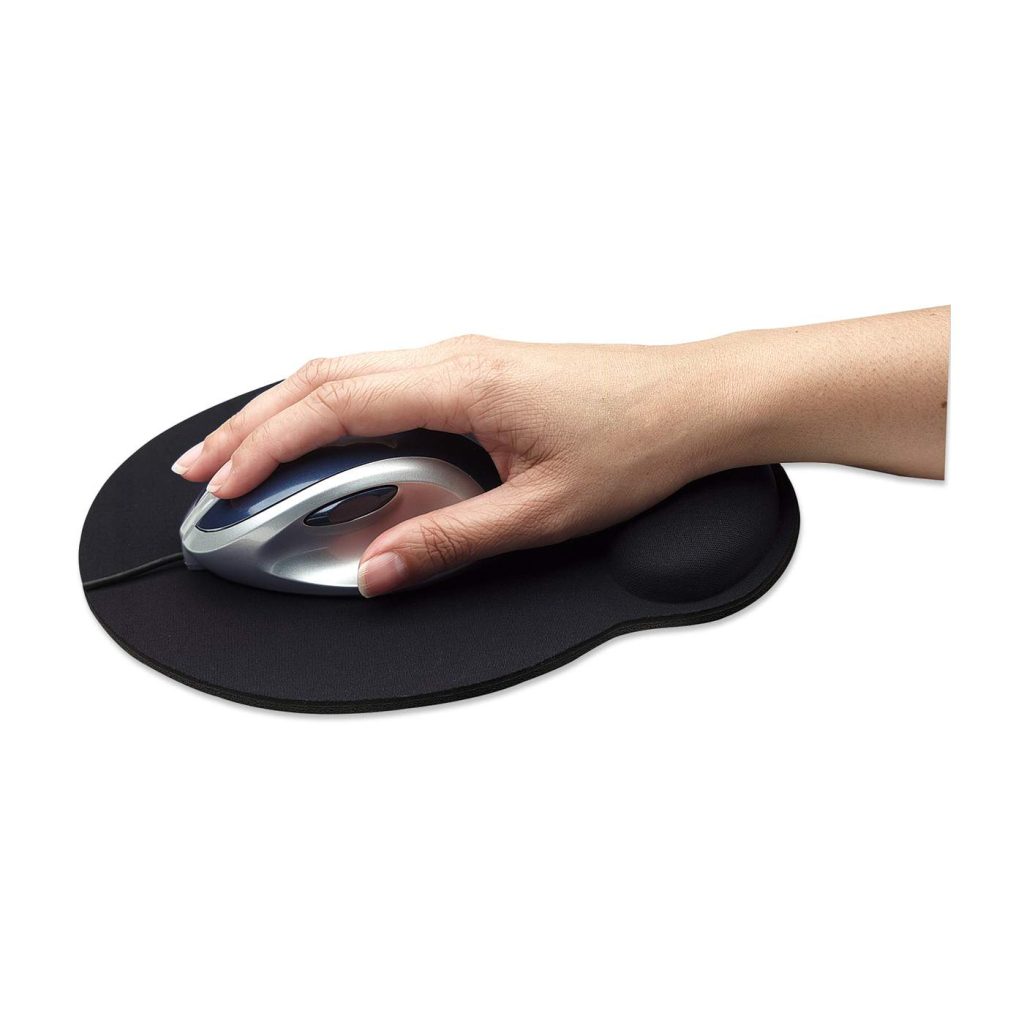
Evaluating Comfort
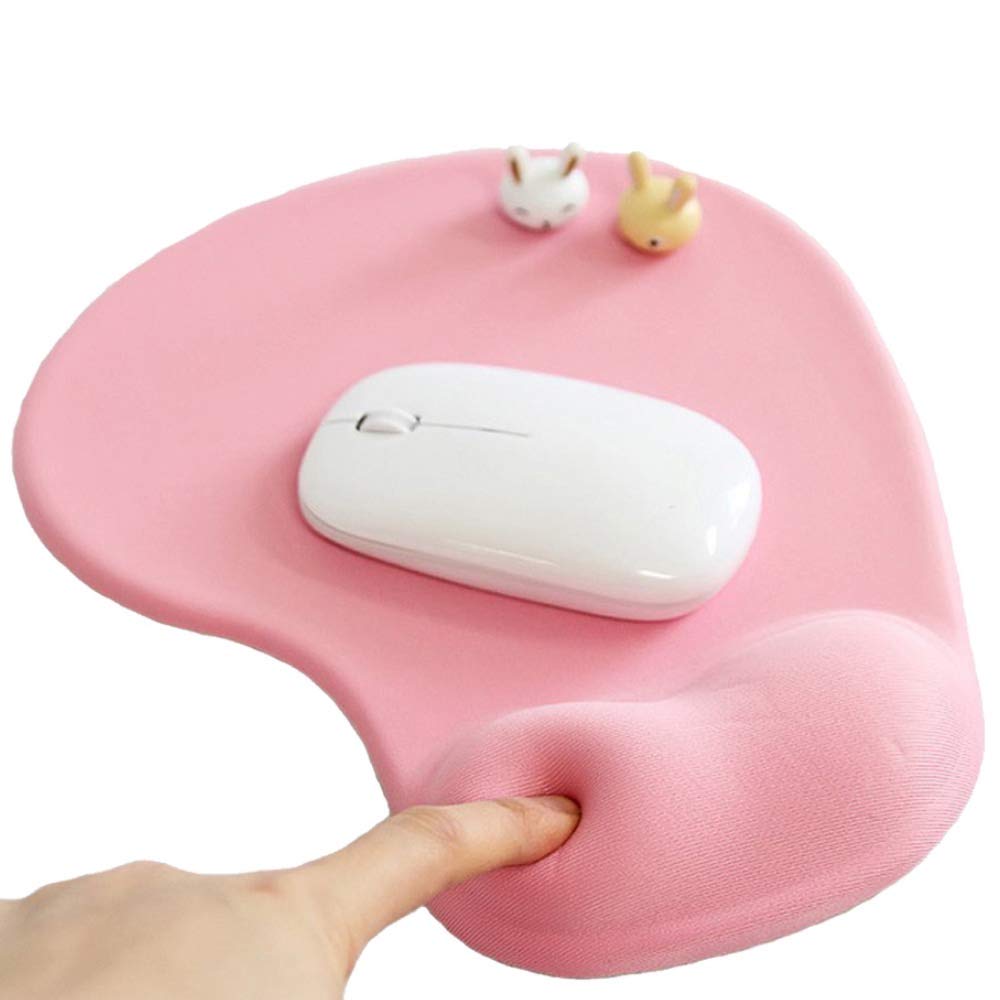
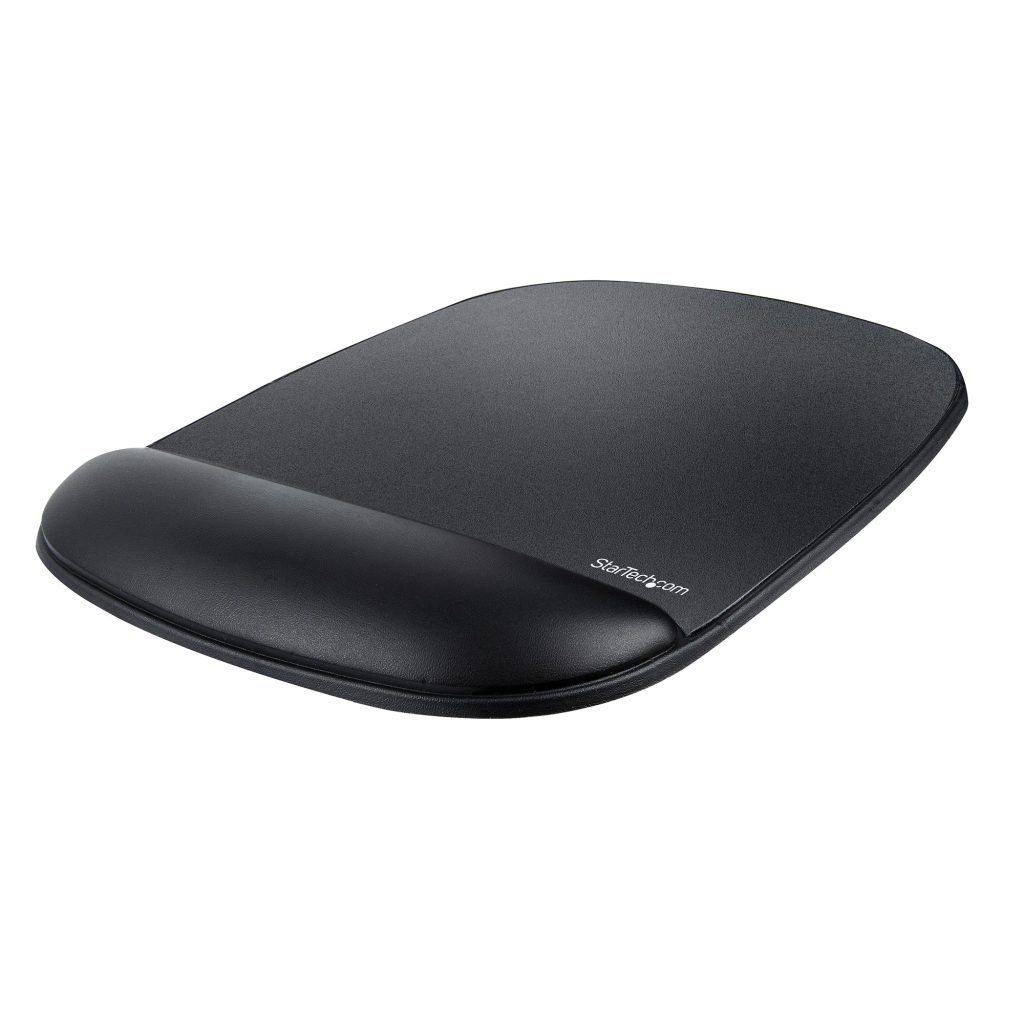
While ergonomics might not be the first consideration in a DIY project, it’s still important. Rest your wrist on the pad to see if it feels comfortable for prolonged use. If needed, you could craft a wrist rest from the same materials to match your mouse pad and provide additional support.
Caring for Your DIY Mouse Pad
Cleaning and Maintenance
Fabric mouse pads can accumulate dirt and oil from your hands over time, so it’s important to consider how to clean your DIY mouse pad. If you used washable materials and adhesives, you could hand wash or even machine wash your pad when needed. For more delicate decorations or materials, wiping with a damp cloth might suffice.
Longevity Tips
To ensure the longevity of your mouse pad, avoid placing sharp objects on the surface that could cause cuts or snags. Also, keep it away from extreme temperatures or sunlight, which may degrade the materials over time. With proper care, your DIY mouse pad should serve you well for a long time.
Personalizing Your Workspace
How to make a diy mouse pad
Using your new DIY mouse pad adds a personal touch to your space that store-bought options can’t match. The materials, colors, textures, and designs you select are a reflection of who you are, turning a utilitarian item into a piece of personal expression. A mouse pad made by your own hands can be a conversation starter or simply serve as a daily reminder of your creativity and skills.
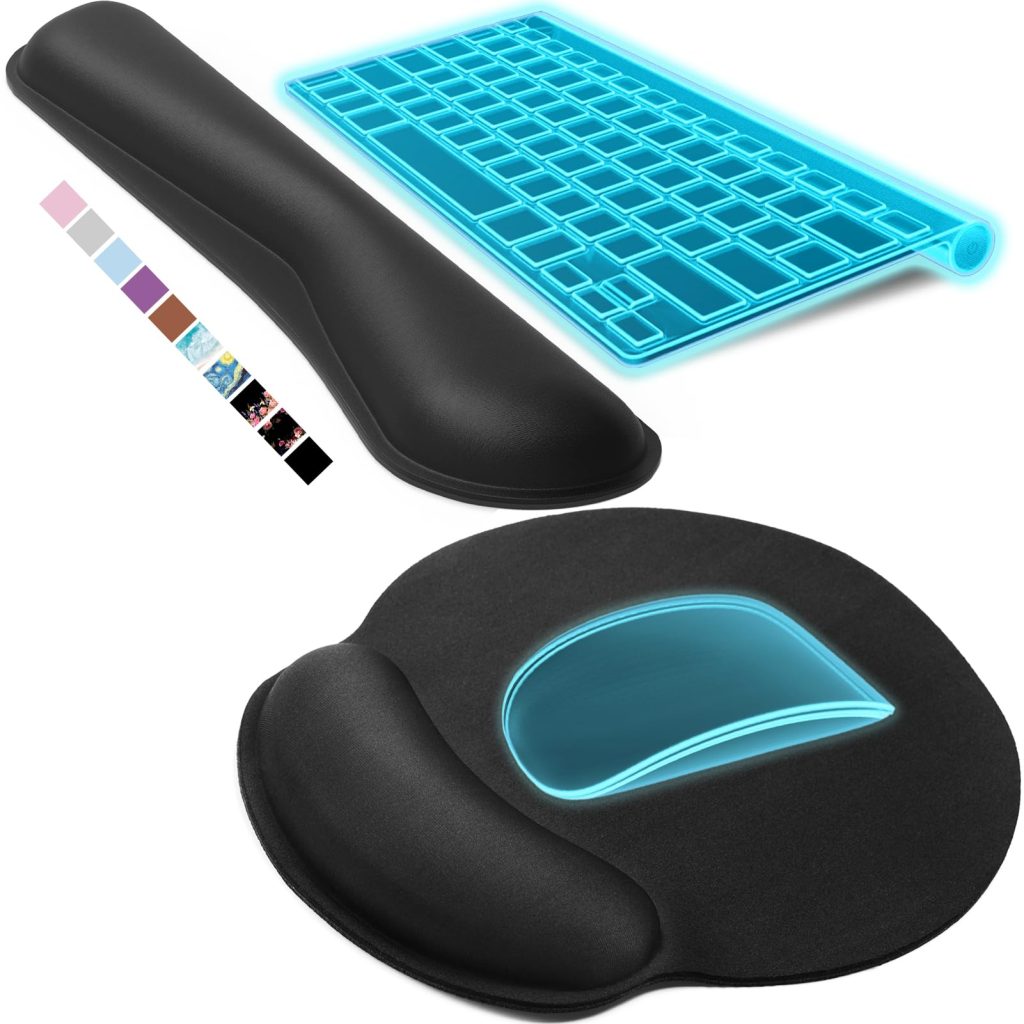
Matching with Desk Accessories
For a cohesive look, consider crafting additional desk accessories that match or complement your mouse pad. Items like a desk organizer, a coaster for your coffee mug, or a stand for your phone can be made from similar materials and adorned with similar designs. This unified theme can make your workspace aesthetically pleasing and a more inviting place to work or study.
Enhancing Functionality
Optimal Thickness and Texture
While focusing on the visual aspects of mouse Usage, also consider its functionality. The thickness of the base material can provide the desired level of comfort and support for your wrist. You can add or reduce the number of layers based on your preference. For the top surface, if the texture of the chosen fabric is negatively impacting your mouse’s responsiveness, consider adhering a thin layer of a smoother material in the area where you’ll be moving the mouse.
Non-Slip Backing
To prevent your mouse pad from sliding on the desk surface, ensure that the base material has non-slip properties. If the pad moves too easily, consider applying a layer of non-slip material. Use non-slip rubber or silicone dots, which you can find at craft stores or online. These dots should be placed beneath the pad. This small addition is crucial for stability. A stable surface leads to better mouse control. Better control can result in a more productive workflow.
Things to note when choosing office accessories
Selecting the right office accessories is essential in creating an efficient and comfortable work environment. These accessories play a crucial role in maximizing productivity, organizing workspaces, and enhancing ergonomics. However, with a wide range of options available, it can be challenging to make the best choices.
Functionality:
When choosing office accessories, prioritize functionality to ensure they meet your specific needs. Consider the purpose and tasks performed in your work environment. For example, if you frequently handle paperwork, invest in durable filing systems or document organizers. If you make many phone calls, a hands-free headset or a quality speakerphone may be necessary. Match the features of the accessory to your workflow to optimize efficiency.
Quality and Durability:
Investing in high-quality office accessories is crucial for long-term functionality and durability. Choose products from reputable brands or suppliers known for their reliability and longevity. Look for accessories made from robust materials that can withstand frequent use and potential wear and tear. Assess the build quality, sturdiness, and overall construction to ensure your office accessories are built to last.
Ergonomics and Comfort:
Ergonomics should be a key consideration when selecting office accessories. Items such as ergonomic chairs, adjustable desks, and wrist supports for keyboards and mice can significantly improve comfort and reduce the risk of musculoskeletal disorders. Look for adjustable features, proper support, and designs that promote a neutral posture. Ergonomic accessories help enhance productivity, reduce fatigue, and minimize the risk of work-related injuries.
Aesthetics and Office Design:
The aesthetics of office accessories can contribute to a pleasant and visually appealing workspace. Consider the overall office design and choose accessories that complement the style and atmosphere. Coordinate colors, patterns, and materials to create a cohesive look and feel. Sleek and modern accessories may suit a contemporary office, while traditional or natural finishes may be more suitable for a classic or rustic environment.
Conclusion:
Choosing the right office accessories is crucial for promoting productivity, comfort, and an organized work environment. By considering factors such as functionality, quality, ergonomics, aesthetics, cost-effectiveness, storage, and sustainability, you can make informed decisions that meet your specific needs and contribute to a productive and pleasant office space.