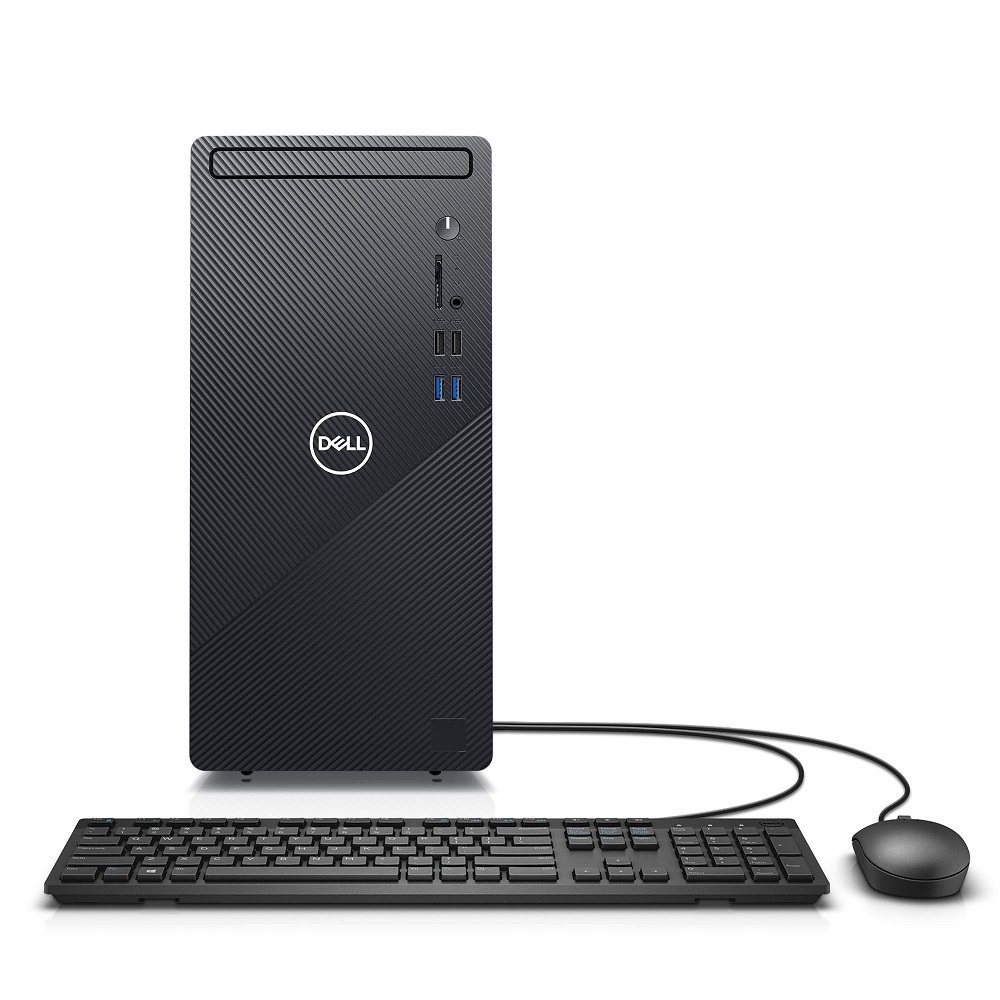
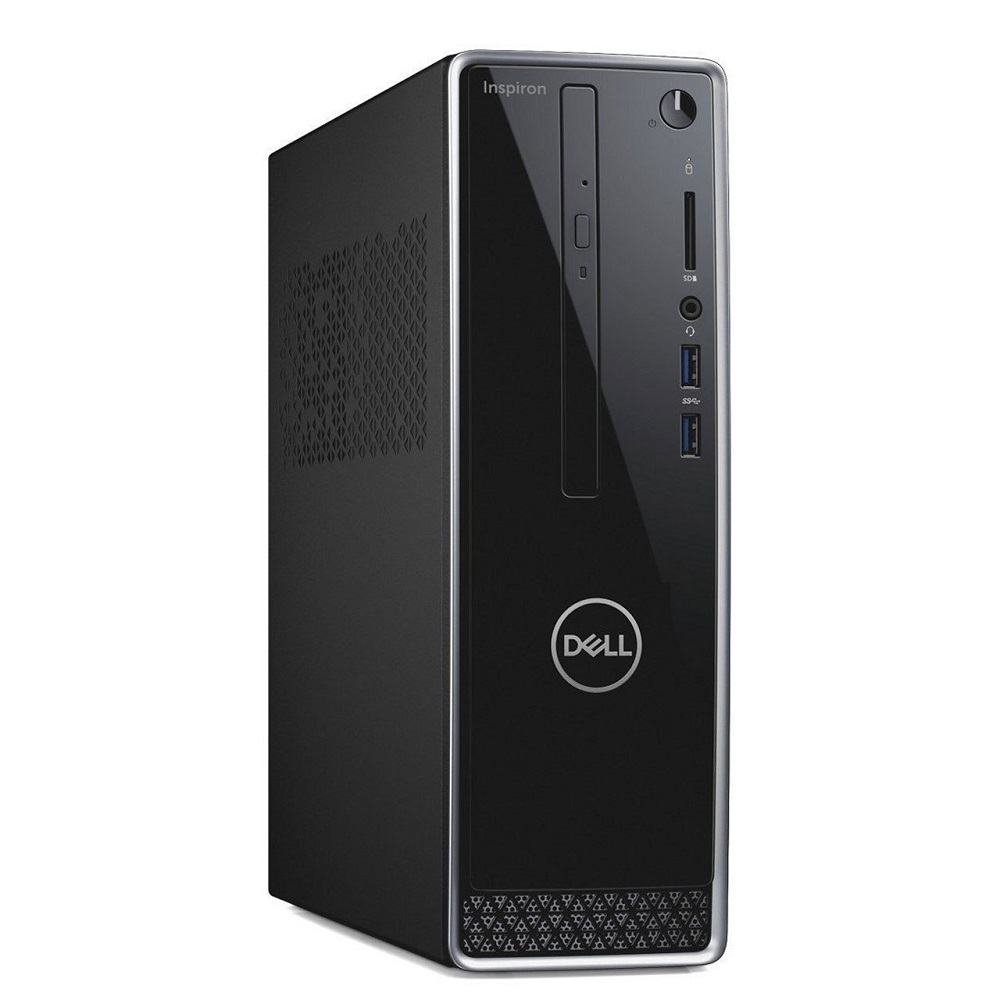
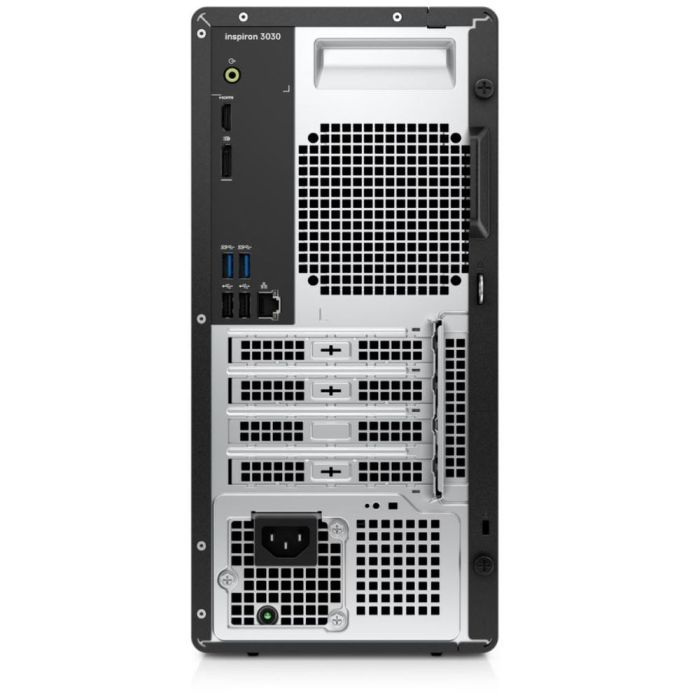
Upgrading your Inspiron desktop can significantly enhance its performance, making it faster and more efficient. Whether you’re a gamer, a professional, or just a casual user, keeping your desktop up-to-date can improve your computing experience. Here’s a step-by-step guide to help you get the most out of your Inspiron desktop.
Assessing Your Current System
Identifying Performance Bottlenecks
Start by identifying the areas where your Inspiron desktop is lagging. Use system monitoring tools like Task Manager or resource monitor to check CPU, memory, and disk usage. Look for components that are frequently maxed out, as these are likely the bottlenecks slowing your system down. Understanding these weak points helps you prioritize which upgrades will have the most significant impact on performance.
Evaluating Your Needs
Consider what you use your desktop for most. A gamer might need a better GPU, while a professional working with large files might benefit more from additional RAM or a faster SSD. Your specific needs will guide you in selecting the right components to upgrade. Evaluating your needs ensures that you invest in upgrades that will actually improve your experience rather than just making changes for the sake of it.

Upgrading the RAM
Choosing the Right RAM
Upgrading your RAM is one of the simplest and most effective ways to boost performance. First, check your Inspiron’s specifications to see the maximum amount of RAM it can support and the type it requires. Choose high-quality, compatible RAM sticks that match the current speed and type. Higher capacity and faster RAM can significantly improve multitasking and speed up applications.
Installing New RAM
To install new RAM, first shut down your desktop and unplug it from the power source. Open your desktop case and locate the RAM slots on the motherboard. Carefully remove the old RAM sticks by pressing down on the clips at each end. Insert the new RAM sticks by aligning them with the slots and pressing firmly until the clips snap into place. Make sure they are seated properly to avoid any boot issues. Finally, close the case, plug the desktop back in, and power it on. Your system should recognize the new RAM automatically.
Switching to a Solid-State Drive (SSD)
Selecting the Right SSD
Switching from a traditional hard drive (HDD) to a solid-state drive (SSD) can drastically improve your desktop’s performance. Look for an SSD with sufficient storage capacity and high read/write speeds. SATA SSDs are common and affordable, but if your system supports it, an NVMe SSD offers even faster performance. Make sure the SSD is compatible with your Inspiron’s motherboard.
Cloning Your Existing Drive
Before installing the SSD, you’ll want to clone your existing drive to the new SSD to keep all your files and operating system intact. Use cloning software to create an exact copy of your current drive. Connect the SSD to your desktop using the appropriate SATA or NVMe interface. Follow the software instructions to clone the drive, then replace the old drive with the new SSD. Boot from the SSD and verify that everything is working correctly. Cloning your drive helps you avoid a fresh install and keeps your data safe.

Upgrading the Graphics Card (GPU)
Choosing a Compatible GPU
Upgrading your graphics card can provide a significant boost in gaming and graphic-intensive tasks. Check your desktop’s power supply unit (PSU) to ensure it can handle the additional power requirements of the new GPU. Also, consider the physical space within your case to accommodate the new card. Research GPUs that offer the best performance within your budget and make sure they’re compatible with your system.
Installing the New GPU
To install a new GPU, first power down and unplug your Inspiron desktop. Open the case and locate the PCIe slot where your current GPU is installed. Remove the old GPU by unscrewing it from the case and gently pulling it out of the slot. Insert the new GPU into the PCIe slot and secure it with screws. Connect the power cables from the PSU to the GPU if needed. Close the case, plug the desktop back in, and power it on. Install the latest drivers for the new GPU to ensure optimal performance. Proper installation and driver updates are crucial for the new GPU to perform its best.
Enhancing Cooling Systems
Adding or Upgrading Fans
Enhanced cooling ensures that your upgraded components don’t overheat and degrade. Check your desktop case for additional fan mounts and consider installing extra fans. Choose high-quality fans with good airflow and low noise levels. If your case only has stock fans, consider upgrading them to more efficient models. Increased airflow helps maintain optimal temperatures and prolongs the lifespan of your components.
Installing a Liquid Cooling System
For more intensive cooling needs, especially if you’re overclocking your CPU or GPU, consider a liquid cooling system. Liquid cooling provides better heat dissipation compared to air cooling. Follow the instructions provided with the liquid cooling kit to install it correctly. Ensure that all components, including the radiator and tubing, are securely mounted and leak-free. Proper installation ensures efficient cooling and reduces the risk of overheating.

Updating BIOS and Drivers
Updating the BIOS
The updating your BIOS can improve compatibility and performance. Visit Dell’s official website and download the latest BIOS update for your specific Inspiron model. Follow the instructions provided to update the BIOS safely. Make sure your system is plugged into a reliable power source during the update to avoid interruptions. Regular BIOS updates ensure that your system runs smoothly and make the most of your upgrades.
Installing the Latest Drivers
Ensure that all drivers (for the motherboard, GPU, and other peripherals) are up-to-date. Outdated drivers can lead to performance issues and hardware incompatibilities. Download the latest drivers from the manufacturer’s websites and install them. Regular driver updates ensure optimal performance and compatibility with new software and hardware.
Optimizing Software and Settings
Cleaning Up Your System
After upgrading hardware, optimizing your software and settings can further boost performance. Uninstall unnecessary programs, disable startup apps that slow down boot time, and run disk cleanup utilities to free up space. Keeping your system lean and clean helps it run more efficiently. Regular maintenance prevents clutter and ensures that your upgraded hardware performs at its best.
Tweaking Performance Settings
Adjust your system settings to maximize performance. Enable high-performance mode in your power settings, tweak advanced system settings for better resource allocation, and adjust visual effects for optimal speed. These tweaks can make a noticeable difference, especially when combined with hardware upgrades. Customizing performance settings tailors your system to your specific needs and makes the most of the new hardware.
Conducting Post-Upgrade Testing
Verifying System Stability and Performance
After completing all your upgrades, it’s crucial to verify that everything is working correctly and that your system is stable. Run benchmarking tools like 3DMark, Cinebench, or Geekbench to assess the performance improvements. These tools provide detailed insights into your CPU, GPU, and overall system performance. Compare the results with your pre-upgrade benchmarks to quantify the improvements.
Monitoring for Issues
Keep an eye on temperatures, system stability, and any unexpected behavior using monitoring software like HWMonitor, MSI Afterburner, or CPU-Z. Look out for any signs of overheating, crashes, or performance drops. This monitoring helps you catch potential issues early and take corrective actions before they cause damage. Regular checks ensure that your upgrades provide lasting benefits and maintain system integrity.
Upgrading your Inspiron desktop involves assessing the current system, enhancing components like RAM, SSD, and GPU, and optimizing software and settings. With these steps, you can significantly improve your desktop’s performance, making it faster, more efficient, and better suited to your needs. Invest in quality components, follow the installation guidelines carefully, and keep your system up-to-date to enjoy a seamless computing experience.
