Amplifiers play a critical role in audio systems, boosting sound signals and allowing us to enjoy music and other audio content to the fullest. However, like any piece of electronic equipment, amplifiers can face various issues that affect their performance. Understanding these problems and knowing how to troubleshoot them can save you time, money, and frustration. This guide will explore some common amplifier issues, enabling you to confidently identify and resolve them.
Distortion in Sound Output
What Causes Distortion?
Distortion refers to the alteration of the original sound signal, leading to a less clear or garbled output. This issue can arise from several factors, including overdriving the amplifier, improper gain settings, and using mismatched components. When you push an amplifier beyond its maximum output, it struggles to amplify the signal cleanly, creating distortion. Additionally, if the gain is set too high, it can result in clipping and fuzziness, impairing your listening experience.
How to Troubleshoot Distortion
To troubleshoot distortion, start by checking the input levels. Ensure that no device connected to the amplifier is producing an excessively high level signal. Adjust the gain settings on your amplifier to find a balance that doesn’t push the system too hard. If you’re using a digital source, ensure it’s not sending an over-compressed signal. You might also want to consider the quality of the cables and connections; damaged or low-quality cables can introduce interference and contribute to distortion. Finally, test the amplifier with a different set of speakers to determine if a component is at fault.
Overheating
Why Does an Amplifier Overheat?
Heat buildup in amplifiers often stems from intense use, inadequate ventilation, or internal component failure. When an amplifier works hard to drive speakers, it generates heat as a byproduct. If the airflow is restricted—due to placement in an enclosed space or dust accumulation on vents—the amplifier can overheat. Similarly, internal components like transistors can fail, causing the amplifier to work harder than necessary, which compounds the heat generation.
How to Fix Overheating Issues
To address overheating, first ensure that the amplifier has adequate ventilation. Place it in an area with plenty of airflow and avoid covering the vents. You may need to clean out dust and debris from vents and fans, as a buildup can impede airflow. If the amplifier continues to overheat, consider using a fan or an external cooling device to help dissipate heat. Also, give your amplifier some downtime when running high volumes for extended periods. If these solutions do not help, the amplifier may require a professional inspection to identify failing internal components.
No Sound Output
Identifying the Source of Silence
One common and frustrating issue is when an amplifier produces no sound. This can happen due to a range of factors, including malfunctioning connections, blown fuses, or problems within the amplifier itself. First, check the basics: ensure that all cables are securely connected and that the power switch is on. If everything looks normal on the surface, the issue could reside within the amp or even the connected devices.
Diagnostic Steps for No Sound
To troubleshoot a lack of sound output, follow these steps. Start by confirming that the source device is functioning and is set to an appropriate volume level. Test the cables by swapping them out for known working cables. If you still encounter silence, look for any blown fuses within your amplifier; consult the manual for fuse locations and specifications. Additionally, check your speakers to see if they are working correctly with another audio source. If none of these steps resolve the issue, you may have a more complex problem, ranging from faulty internal circuits to a damaged amplifier that needs professional repair.
Hum and Buzz in the Output
Understanding Auditory Noise
Unwanted humming or buzzing noises can drive any audiophile crazy and can stem from several issues. Common causes include grounding issues, electromagnetic interference (EMI), and faulty cables. Ground loops happen when there are multiple paths to the ground, causing frequency interference and audible hum. Equipment placed too close to other electrical devices can also pick up unwanted noise, resulting in a distracting buzz during playback.
How to Eliminate Hum and Buzz
To troubleshoot and eliminate humming and buzzing, start by checking all grounding connections. Make sure your amplifier and other audio components have a common ground. Using a ground loop isolator can also help eliminate unwanted noise. Rearranging components to increase the distance between your amplifier and potential sources of interference—like power supplies or routers—can help reduce EMI. Finally, inspect and replace any damaged or low-quality cables, as they can easily pick up noise and carry it through to your speakers.
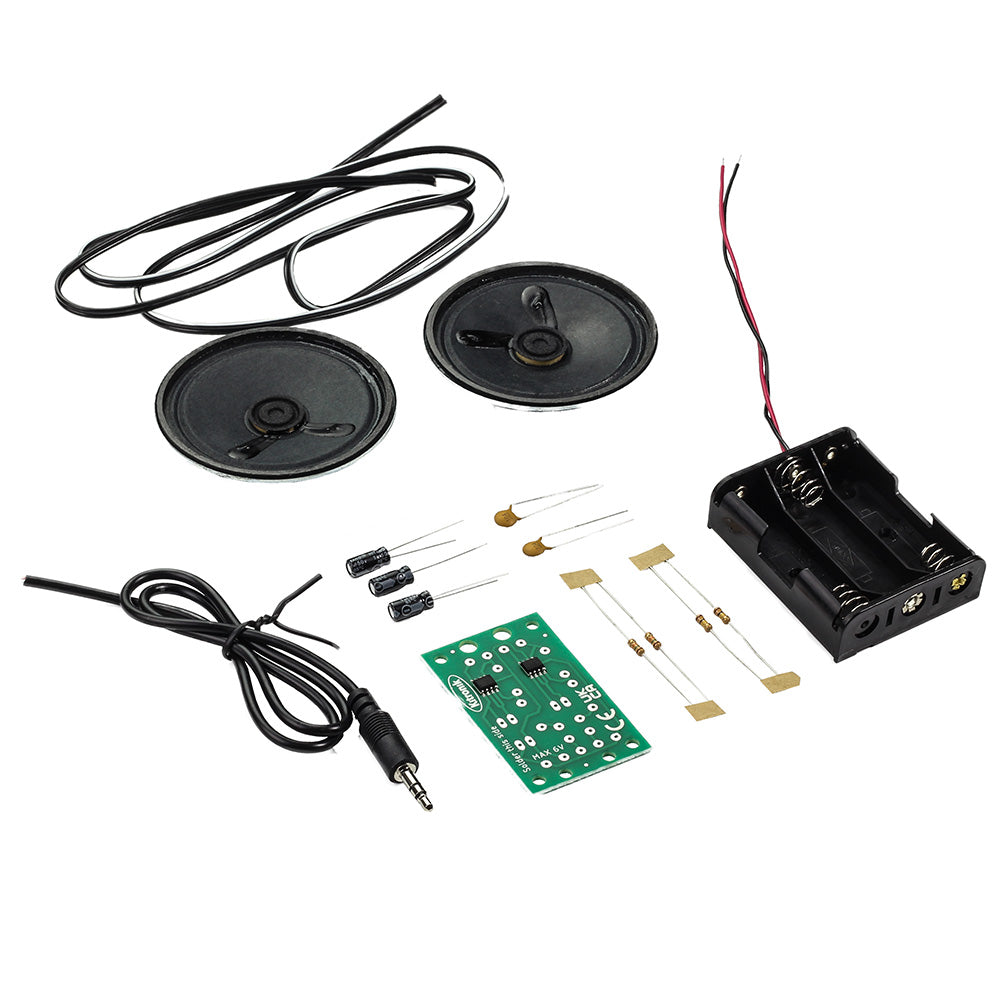
Speaker Cutouts
Understanding the Problem
Speaker cutouts can lead to intermittent audio, which can be frustrating during listening sessions. This issue often occurs due to speaker connections, faulty cables, or issues within the amplifier’s output stage. Other common culprits include overheating, which may cause protection circuits to engage and momentarily cut off sound. Each of these factors requires careful diagnosis to ensure a proper fix.
Steps to Fix Speaker Cutouts
To address speaker cutouts, first check all cables for signs of wear or poor connections. Swap cables with known good ones to eliminate the possibility of cable-related issues. If you find that the problem persists, inspect the speaker connections at both the amplifier and the speaker ends. Tighten any loose connections and ensure that no wires are frayed. If the issue continues after checking cables, try a different set of speakers to confirm whether the problem lies with the original speakers themselves. If you suspect the amplifier’s internal components may be the source, consider having it tested by a professional.
Low Volume Output
What Causes Low Volume Issues?
Low volume output can frustrate any music lover, especially when the amplifier appears to be functioning properly. Several factors can lead to low output levels, including improper gain settings, faulty connections, and mismatched impedance between the amplifier and speakers. Sometimes, the issue can also originate from the source device, which may not be sending a strong enough signal to the amplifier.
How to Address Low Volume
To troubleshoot low volume output, start by checking the gain settings on your amplifier. If they’re set too low, increase them to see if the volume improves. Next, inspect all connections and cables to ensure they are secure and functioning properly. Testing the source devices—such as smartphones or computers—can also help clarify if the issue is with your amplifier. Additionally, check impedance ratings of both the amplifier and speakers to ensure they match. If you find them mismatched, consider adjusting your setup to improve audio quality.
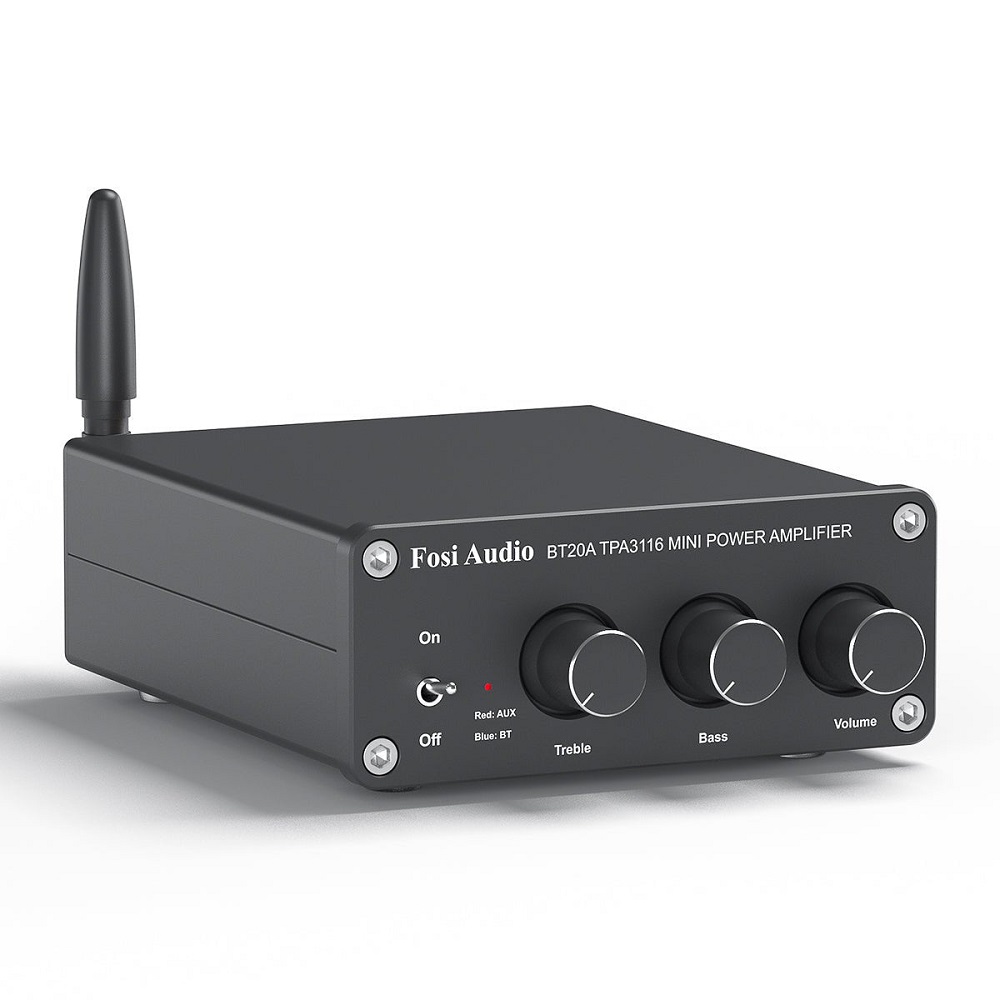
Distorted Bass Response
Understanding Bass Distortion
Distorted bass response can detract from the audio experience, especially if you enjoy bass-heavy music. This issue often arises from pushing the amplifier too hard, improper speaker specifications, or even poor room acoustics. When an amplifier is overloaded with low-frequency signals, it may struggle to reproduce them cleanly, leading to muddiness or distortion.
Steps to Resolve Bass Distortion
To address distorted bass, first, examine the specifications of your speakers to ensure they can handle the power output of your amplifier. Use an equalizer to adjust the bass frequencies to see if it alleviates the distortion. Ensure that your placement is optimal; sometimes, the position of your speakers relative to walls and corners can lead to boomy or distorted bass. Lastly, consider using a subwoofer designed to handle low frequencies effectively, which can lighten the load on your main speakers and lead to a more balanced sound.
Regular Maintenance for Optimal Performance
Importance of Regular Check-ups
Just like any other electronic device, amplifiers benefit from regular maintenance to ensure optimal performance and longevity. Taking the time to periodically inspect your amplifier can help prevent many of the issues mentioned above. Dust and debris can accumulate over time, affecting ventilation and leading to overheating or other performance problems. Moreover, regular check-ups allow you to identify any potential issues before they escalate into more serious problems.
Maintenance Tips
To maintain your amplifier effectively, start by cleaning the exterior with a dry microfiber cloth to remove dust. For the interior, carefully open the case (after disconnecting the power) and use compressed air to blow out any accumulated dust and debris. Additionally, check all connections, wires, and solder joints for wear and tear, and replace any that show signs of damage. Keep an eye on your amplifier’s cooling system, ensuring that fans or heatsinks are functioning correctly to prevent overheating during use. Finally, recalibrate your amplifier settings periodically to adapt to any changes in your audio components or listening environment.
Your Guide to Troubleshooting Amplifier Issues
Understanding the common issues that can affect your amplifier can greatly enhance your audio experience. Knowing how to troubleshoot problems like distortion, overheating, no sound output, hum, speaker cutouts, low volume, and bass distortion equips you with the skills needed to address complications as they arise.
Taking proactive measures and being aware of how to maintain your audio equipment ensures you can enjoy your favorite music without interruptions. In the end, troubleshooting your amplifier not only saves you time and money but also deepens your connection to the technology that fuels your love of sound. Embrace these challenges with confidence, and enjoy a rewarding audio experience!
