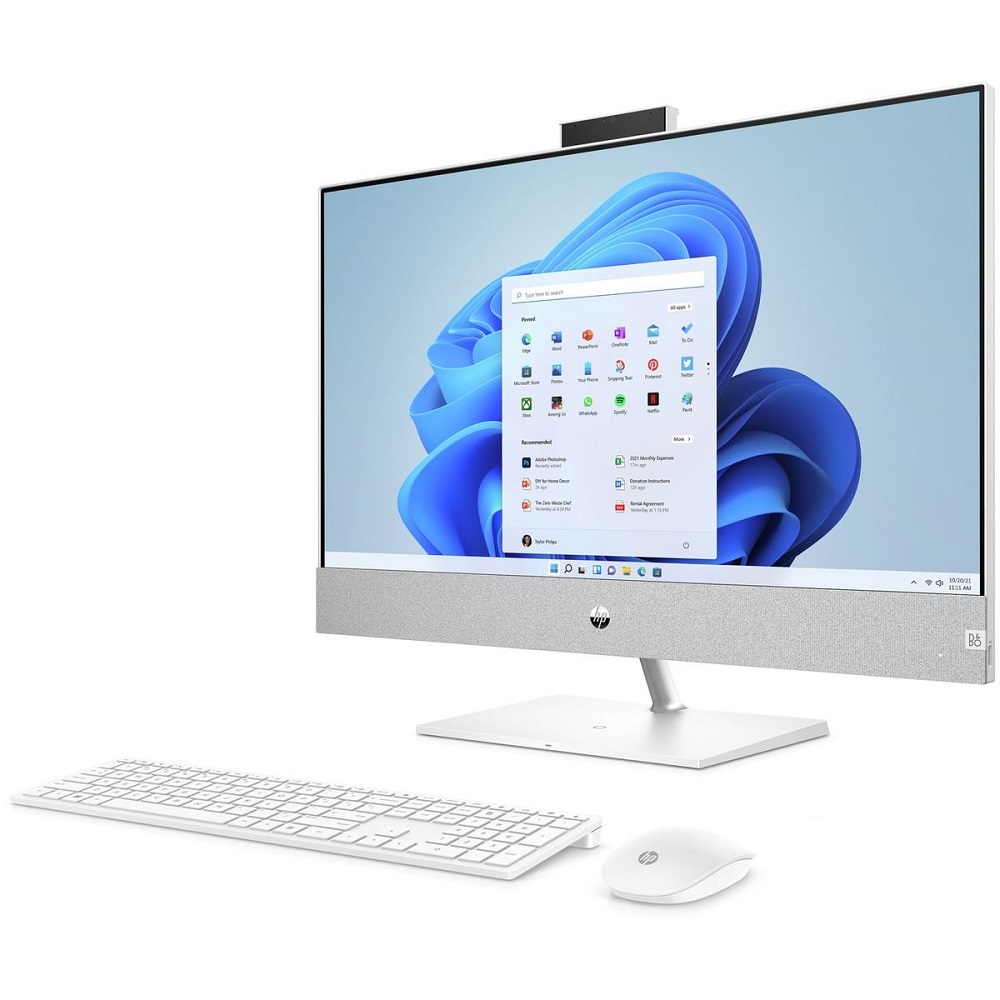
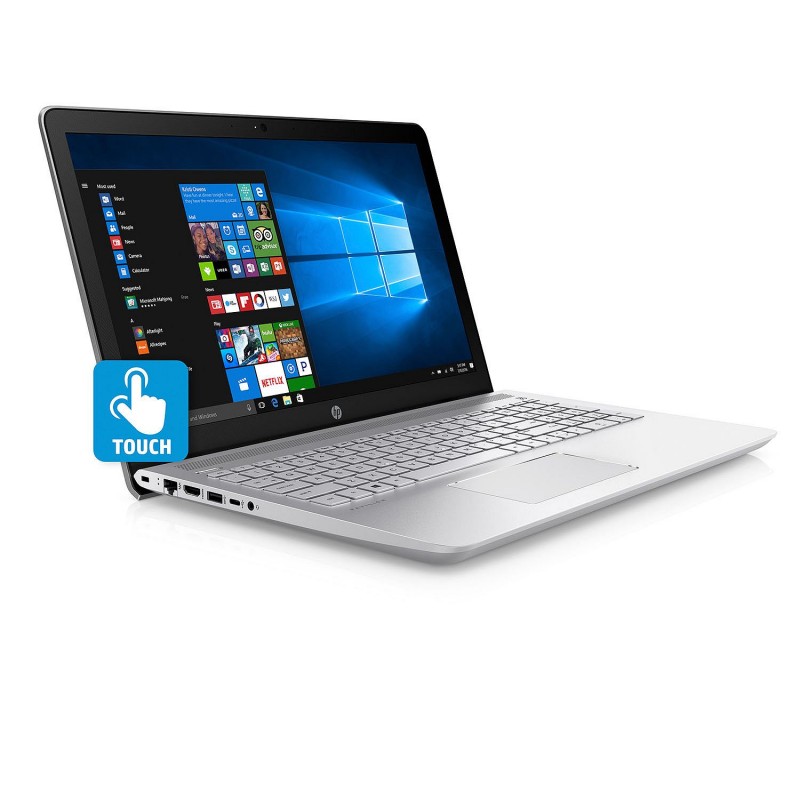
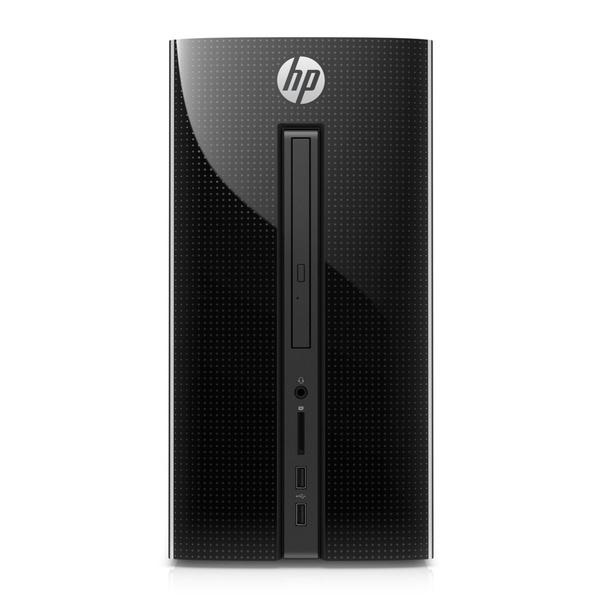
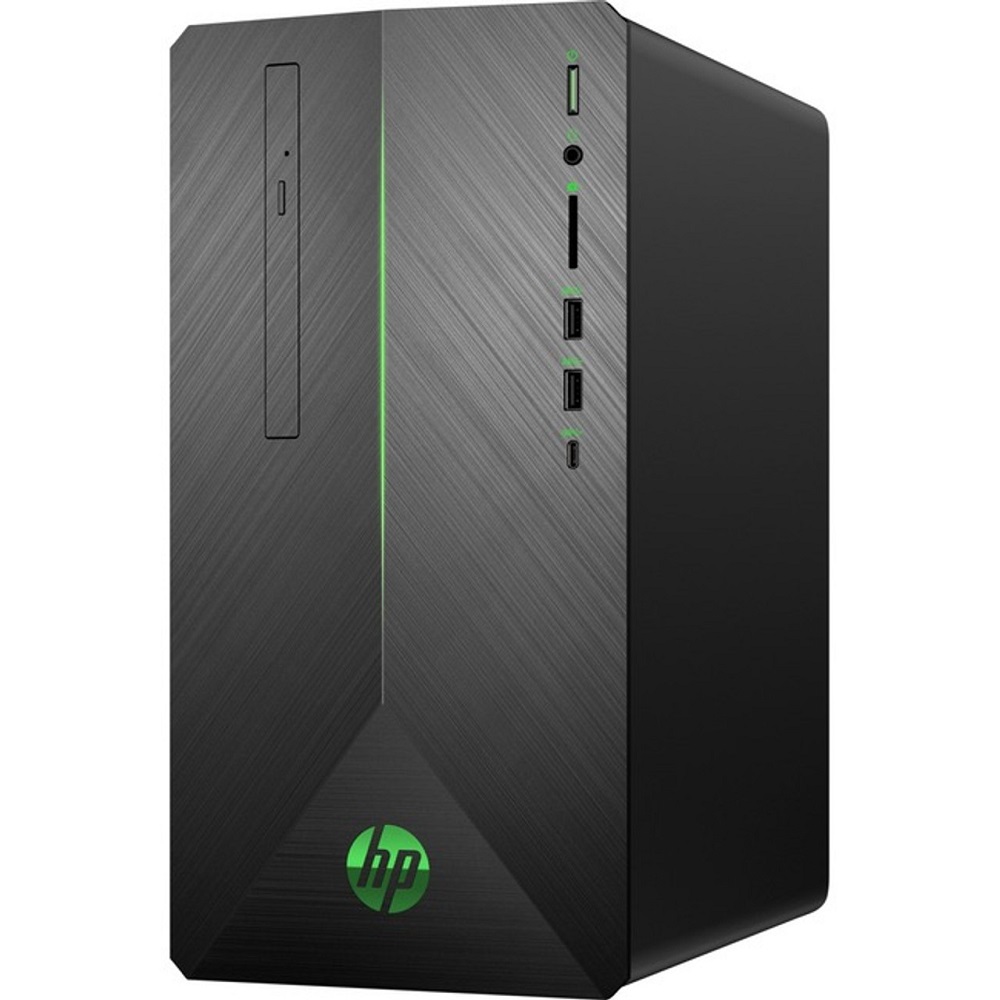
Setting up a new HP Pavilion desktop is an exciting experience. These computers offer powerful performance and a range of features designed to meet various computing needs. Whether you’re using your desktop for work, gaming, or general browsing, a proper setup ensures that you can get the most out of your machine. This step-by-step guide will take you through the process of setting up your HP Pavilion desktop, from unpacking the device to connecting it to the internet and installing necessary software.
Unpacking Your HP Pavilion Desktop
Inspecting the Package
When you receive your HP Pavilion desktop, the first step is to unpack it carefully. Begin by checking for any visible damage to the packaging. If the box looks damaged, take photographs before proceeding to open it. This documentation can be helpful if you need to file a claim with the delivery service or the manufacturer.
Once you ensure the package is intact, carefully open the box. Remove the protective foam and wrappers that surround your desktop and accessories. Take your time during this process to avoid scratching or damaging the device. Organizing the components as you unpack them can make the setup process smoother.
Locating All Components
Inside the box, you should find your HP Pavilion desktop, a monitor (if included), a keyboard, and a mouse. Additionally, there should be power cords, an installation manual, and other accessories. Make sure all items are accounted for before proceeding with the setup.
If any components are missing, refer to the manual or check the packing list often found in the box. If you discover that something is missing, contact HP customer support for assistance. Having everything ready will make the installation much easier.

Connecting Your HP Pavilion Desktop
Setting Up the Monitor
Begin by setting up your monitor, if your HP Pavilion comes with one. Place the monitor on a stable desk or surface. If your monitor has a base or stand, assemble it according to the manufacturer’s instructions. Position the monitor at eye level to maintain a comfortable viewing height.
Next, connect the monitor to the desktop. Most HP Pavilion desktops use HDMI or DisplayPort connections. Locate the appropriate cable in your package and plug one end into the back of the monitor and the other end into the corresponding port on the desktop. Ensure that the cables are securely connected to avoid any loose connections.
Connecting the Keyboard and Mouse
Once the monitor is set up, connect the keyboard and mouse. If either device is wireless, insert the provided USB receiver into a USB port on the desktop. Make sure to insert it into a port that is easily accessible. If they are wired devices, simply plug each cord into a USB port on the desktop.
After connecting these peripherals, take a moment to arrange the cables neatly. Proper cable management can help prevent clutter and tangling. Using cable ties or clips can keep everything organized and improve your workspace’s appearance.
Powering On Your Desktop
Plugging in the Desktop
With all components connected, it’s time to power on your HP Pavilion desktop. Start by locating the power cable, which should be included in your package. Plug one end into the power supply port at the back of your desktop and the other end into a nearby electrical outlet.
Before turning the desktop on, double-check that all connections are secure. Ensuring that the monitor, keyboard, and mouse are properly connected will help avoid any issues during startup.
Starting Up for the First Time
Once plugged in, locate the power button on your HP Pavilion desktop. Press the button to turn on the device. You should see the HP logo appear on the screen as the computer boots up. If the monitor does not display a picture, double-check the connections between the monitor and the desktop.
As your desktop loads, you will be guided through the Windows setup process. Follow the on-screen instructions to configure your language, region, and keyboard settings. This process will help personalize your experience right from the start.

Connecting to the Internet
Setting Up Your Network
Connecting your HP Pavilion desktop to the internet is crucial for accessing online resources and services. You can connect either via a wired Ethernet connection or through a wireless (Wi-Fi) network.
If you prefer a wired connection, plug an Ethernet cable into the Ethernet port on the back of the desktop and connect the other end to your modem or router. This type of connection often provides faster and more stable internet access.
Connecting to Wi-Fi
If you’re using a wireless connection, make sure your desktop has Wi-Fi capabilities. Once you reach the networking setup during the Windows installation process, select “Wi-Fi” from the available options. A list of available networks will be displayed on the screen.
Choose your Wi-Fi network and enter the password for your connection. After successfully connecting, Windows will confirm that you are online. A stable internet connection allows you to download important updates and software during the initial setup.
Installing Updates and Drivers
Checking for Windows Updates
After connecting to the internet, it’s important to check for any available Windows updates. These updates are essential for ensuring that your system runs smoothly and securely. To do this, navigate to the Start Menu and select Settings (the gear icon). From there, go to Update & Security and then click on Windows Update.
In this section, you can click on Check for updates. If any updates are available, follow the prompts to download and install them. Some updates may require your computer to restart. Allow the desktop to restart as necessary to complete the update process.
Updating Drivers
Along with Windows updates, it is crucial to ensure that all device drivers are updated. Drivers allow your hardware components to communicate effectively with the operating system. Most HP Pavilion desktops will automatically check for drivers after the initial Windows updates.
To check for specific driver updates, you can visit the HP support website. Enter your desktop model in the search bar to find the latest drivers available. Download and install any that are relevant. Keeping drivers up to date will improve performance and stability in the long run.

Setting Up Essential Software
Installing Security Software
With your desktop fully operational, the next step involves installing security software. Protecting your computer from viruses, malware, and other security threats should be a top priority. Many users opt for well-known antivirus programs, including Norton, McAfee, or Bitdefender.
To install a program, visit the official website of the software provider and download it. After downloading, double-click the installer and follow the on-screen prompts to complete the installation. Running regular scans can help keep your computer secure after setup.
Downloading Other Essential Applications
Beyond security software, consider downloading other applications that will enhance your productivity. Common programs include Microsoft Office, Google Chrome, or any apps you regularly use. Explore the Microsoft Store for a wide variety of software options.
You should prioritize applications that align with your needs. For instance, if you plan to use your desktop for creative work, consider downloading graphic design or video editing software. Installing these essential applications early will help you utilize your HP Pavilion to its fullest potential.
Personalizing Your Experience
Customizing Settings
With your HP Pavilion desktop set up and essential software installed, it’s time to personalize your computing experience. Navigate to Settings again to adjust display settings, notifications, and privacy options. You can customize the desktop background, screen resolution, and color theme to match your preferences.
Additionally, adjust the power settings to optimize performance. You can set the computer to sleep after a certain period of inactivity. Personalization not only improves aesthetics but also enhances usability.
Taking Advantage of Features
HP desktops come with many features that can enhance your experience. Explore pre-installed applications and utilities that could benefit you. For example, applications like HP Support Assistant are valuable for managing system updates and troubleshooting.
Also, consider utilizing any cloud storage solutions offered by HP. Having remote access to files can be a reliable solution for backup and data sharing. Familiarize yourself with these features to optimize the use of your new HP Pavilion desktop.
Conclusion
Setting up your HP Pavilion desktop is a straightforward process that can be accomplished in several steps. From unpacking the device to connecting it to the internet and personalizing your experience, following this guide will help ensure a seamless setup.
By ensuring that all updates are installed and security measures are in place, you can maximize the performance and safety of your new desktop. Investing time in a proper setup lays a strong foundation for productivity and enjoyment.
Taking the time to customize your computer will further enhance your experience. With the right applications and settings, your HP Pavilion will serve you well in all your computing endeavors. Enjoy the versatility and power of your new desktop as you explore its capabilities to meet your needs!
