Introduction to DIY Home Automation
Embarking on a DIY home automation project can seem daunting. It’s a world filled with smart devices, various protocols, and endless possibilities. But fear not; with a strategic approach and the right tools, you can turn your home into a smart haven.
The beauty of home automation lies in its ability to bring convenience, efficiency, and sometimes even cost savings to your daily life. From automating your lights to setting smart thermostats to create the perfect environment, DIY home automation is within reach. Plus, you don’t need a hefty budget or advanced technical skills to get started.
Before you dive in, understanding the basics is crucial. Home automation essentially allows you to control and automate household systems and appliances. This can range from simple tasks like turning on the lights with your smartphone to more complex scenarios like a security system that alerts you to any unusual activity in real-time.
Starting your DIY home automation journey involves a few key steps:
- Defining what you want to automate in your home.
- Selecting a reliable home automation platform.
- Choosing devices that are compatible with your chosen platform.
With a little patience and trial-and-error, you’ll be able to set up a system that fits your lifestyle perfectly. Embrace the process, and soon you’ll enjoy the marvels of a home that responds to your every command.

Essential Components for a Smart Home Setup
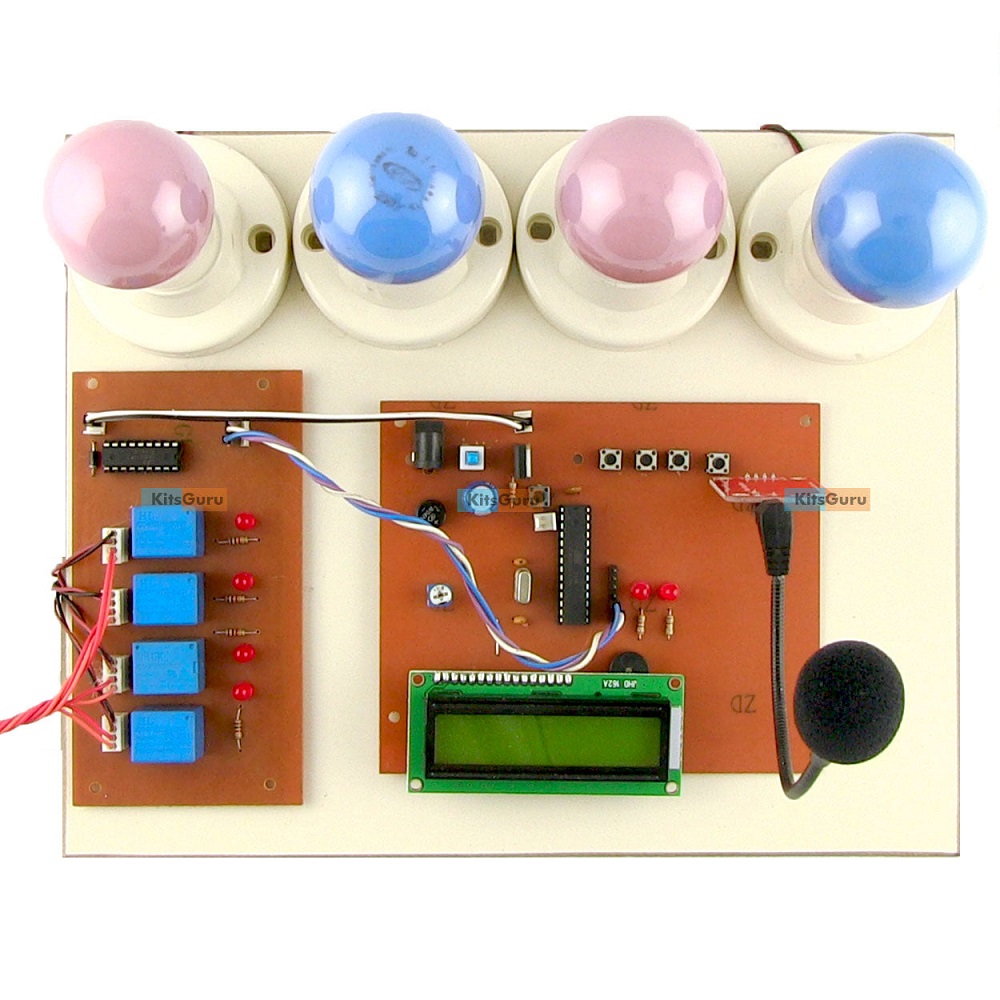
To create a smart home, you need several key components. First, a central hub operates as the brain of your system. This device allows communication between various smart gadgets. It could be a specialized device or software running on a computer or a Raspberry Pi.
Next, you’ll need smart devices that are compatible with your hub. These can include light bulbs, outlets, thermostats, and more. They should support common home automation protocols like Wi-Fi, Z-Wave, or Zigbee.
Sensors play a crucial role. They detect changes in the environment, such as motion or temperature, to trigger automations. Think of motion sensors for lights or door sensors for security alerts.
Actuators, like smart switches or motorized blinds, carry out actions. They turn your commands or sensor signals into physical changes, like adjusting the thermostat or opening a garage door.
A reliable network is also vital. Ensure your Wi-Fi covers all areas where devices are located. If not, consider network extenders or a mesh network system.
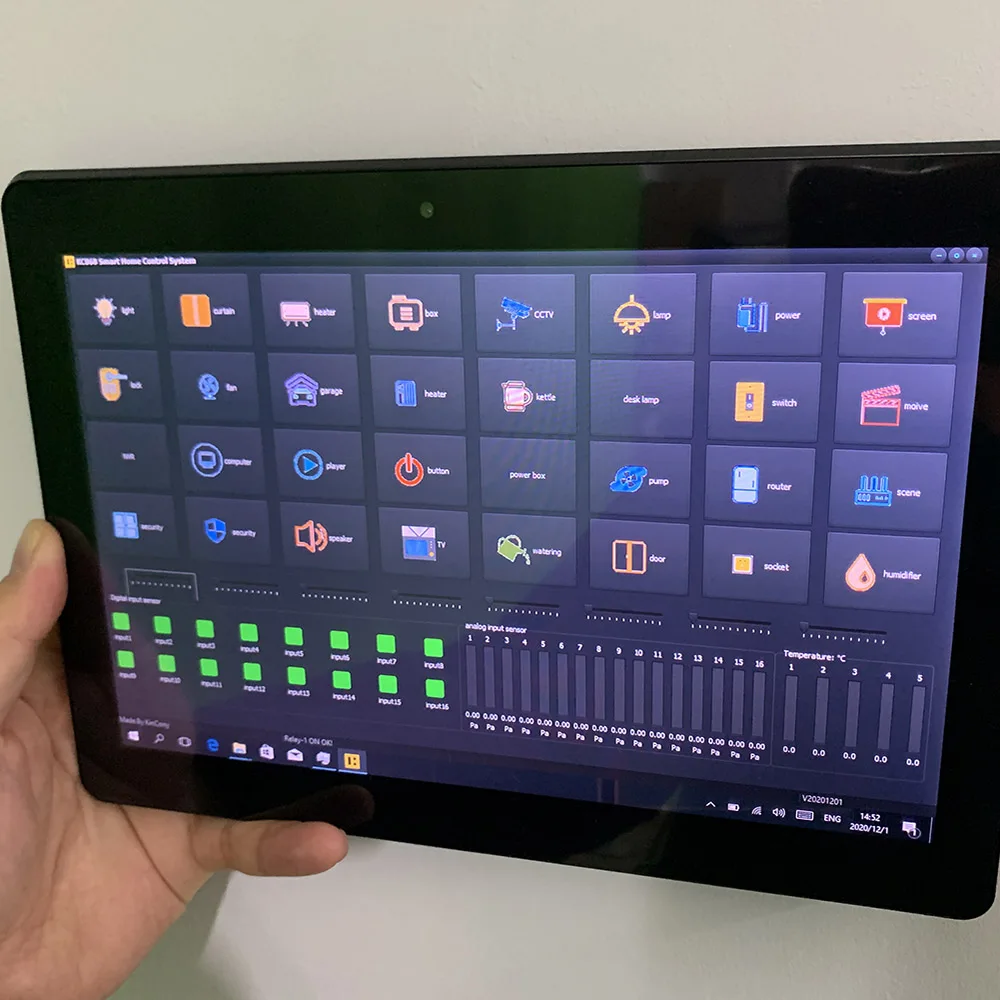
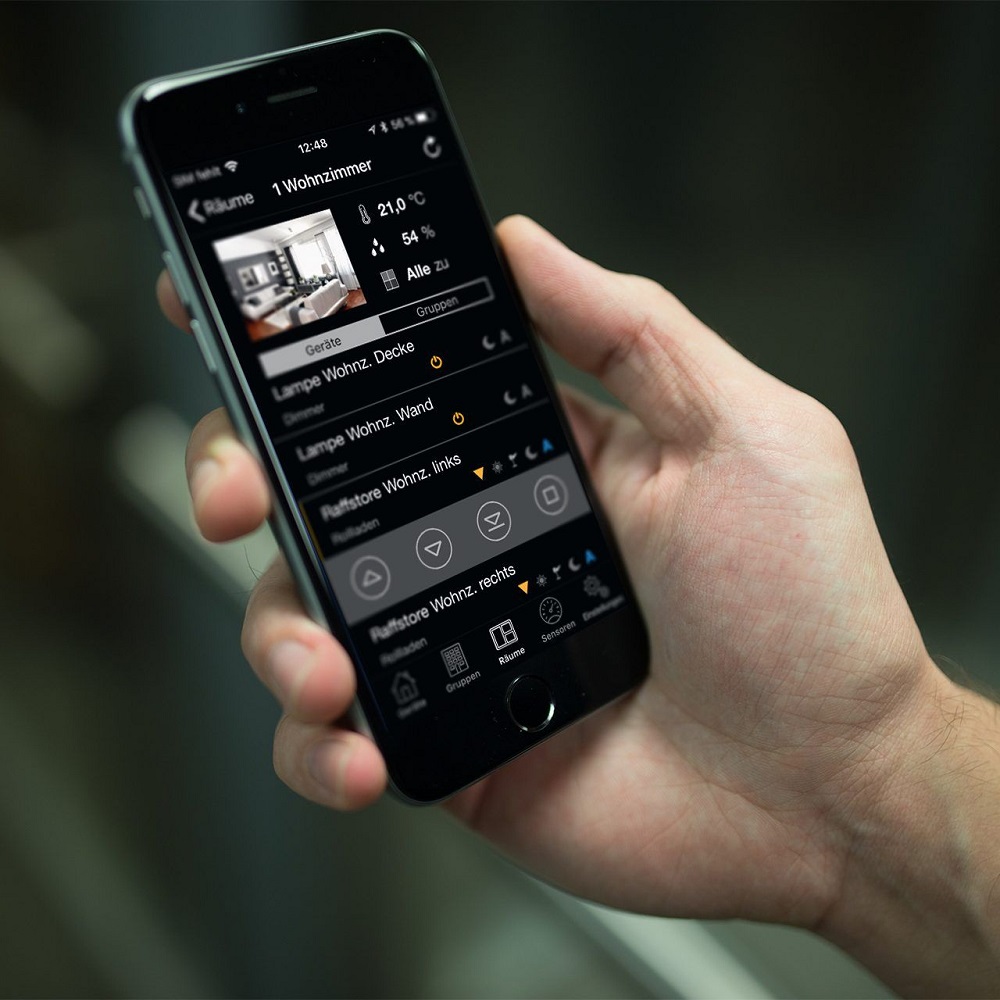
Remember, the right app or interface to manage your system is also an essential component. It should allow you to control devices and set up automation rules easily.
Lastly, consider future scalability. Choose devices and platforms that can grow with your needs. They should allow for easy addition of new devices or integration with existing ones.
Selecting the Right Home Automation Platform
Choosing the right home automation platform is essential for successful integration. This platform becomes the backbone of your smart home, facilitating communication and control over all connected devices. Here’s what to consider when selecting a platform:
Compatibility
Ensure the platform supports the devices you plan to use or already own. It should work with a variety of protocols like Wi-Fi, Z-Wave, or Zigbee. A compatible platform reduces the chances of encountering connectivity issues.
User Friendliness
Opt for a platform that offers an intuitive interface. It should provide clear, straightforward tools for setting up and managing your automation. A user-friendly system simplifies daily operations and routine modifications.
Reliability
Choose a platform known for stability and reliable performance. It should operate consistently without frequent disconnections or errors, which are crucial for tasks like security monitoring.
Scalability
Your home automation needs might grow, so pick a platform that can scale with your needs. It should easily integrate new devices or technologies and support increased automation complexity without performance lag.
Community and Support
A strong support community can be a valuable resource. Look for platforms backed by active forums or customer support services. User experiences and available assistance can lead to smoother operation and troubleshooting.
By carefully considering these factors, you can select a home automation platform that aligns with your requirements and enhances your smart home experience.

Step-by-Step Guide to Creating Your First Automation
Creating your first DIY home automation might seem complicated, but it’s actually straightforward with the right steps. Here’s a simple guide to help you set up your first automation, turning your home smarter in no time.
Step 1: Define the Task
Identify a task you frequently perform that could be automated. For example, turning on the porch light at sunset.
Step 2: Choose Your Devices
Select smart devices necessary for the automation. In our example, you would need a smart light and possibly a smart light switch that supports scheduling.
Step 3: Install Your Devices
Follow the manufacturer’s instructions to install your smart devices. Ensure they’re connected to your home network and accessible through your home automation hub.
Step 4: Configure the Automation
Using your home automation platform, set up the automation. This might involve setting conditions when the porch light should turn on, such as at sunset.
Step 5: Test and Adjust
Test the automation to ensure it works as expected. Make adjustments if necessary to timing or settings.
Step 6: Monitor and Expand
Monitor the performance of your automation. Over time, you can add more tasks and devices, expanding your home automation system.
By following these steps, you’ll have created a practical and efficient automation. This process can be replicated with various tasks around your home, increasingly making your life more convenient and your home smarter.
Integrating Different Systems: Lighting, Security, and HVAC
Integrating various systems in your DIY home automation project can enhance comfort and safety. Blending lighting, security, and HVAC systems creates a seamless smart home experience. Let’s explore how to merge these systems efficiently.
Lighting
Start with smart bulbs or switches that connect to your home automation hub. Automate lights to turn on or off based on time, occupancy, or light levels. Use voice commands or apps for manual control when needed.
Security
Security systems keep you informed and safe. Integrate cameras, door sensors, and alarms with your hub. Receive alerts on unexpected movements or entries. You can also set lights to deter intruders when alarms trigger.
HVAC
Smart thermostats regulate temperature for comfort and energy savings. Link them to your home automation platform. Adjust settings based on occupancy, weather, or time. Combine with smart vents for room-specific temperature control.
Integrate these systems for a coordinated home automation setup. Choose devices and platforms that work well together. Look for products supporting common protocols like Wi-Fi, Z-Wave, or Zigbee. This ensures smooth communication among different systems in your smart home.

The Role of Sensors and Smart Devices in Automation
Sensors and smart devices are the backbone of any effective home automation system. Here’s how they function within a DIY setup:
Sensors: These are the eyes and ears of your smart home. By detecting changes like motion, light, or temperature, they trigger specific actions or alerts. This could include turning on lights when someone enters a room or sending a notification if unexpected motion is detected while you’re away.
Smart Devices: These devices execute the commands given by your automation system. Include smart bulbs, thermostats, cameras, or smart plugs. They respond to the inputs from sensors or direct commands from your mobile app or voice assistant.
Integration: For a seamless operation, ensure that both sensors and smart devices are compatible with your central hub. They should also support common protocols like Wi-Fi, Z-Wave, or Zigbee. This compatibility helps to streamline communication and enhance the responsiveness of your smart home system.
Customization: One of the great advantages of using sensors and smart devices is the ability to customize actions based on your personal preferences and daily routines. For example, you can set a geo-fence that adjusts your home’s temperature as you near home or turns off all lights when no one is detected in the house for a certain period.
Expansion: As you become more comfortable with your initial setup, consider expanding your system. Add more sensors in different areas or incorporate advanced smart devices. This could include smart locks for enhanced security or smart speakers for integrated voice control throughout your home.
By strategically using sensors and smart devices, your home automation can vastly improve efficiency, comfort, and security.
Scaling Your Home Automation System
As your confidence and comfort with home automation grows, so will your desire to scale your system. Here are some considerations and tips to help you expand your smart home capabilities efficiently and effectively:
Start Small and Gradually Add Devices
Begin with a few key devices and automations. Understand their workings before adding more complex components.
Ensure Compatibility with Existing Setup
Choose new devices that are compatible with your existing hub and protocols. Consistency is important for seamless integration.
Plan for Increased Connectivity Needs
The more devices you add, the more strain on your home network. Consider a mesh Wi-Fi system for better coverage and connectivity.
Use a Modular Approach
Invest in modular systems that allow for easy expansion. This way, you can add devices without overhauling your entire setup.
Focus on Interoperability
Look for devices that support cross-platform communication. Devices that speak the same ‘language’ streamline automation creation and maintenance.
Invest in Quality Devices
As you scale, opting for quality over quantity will yield better performance and longevity of your smart home system.
Consider Energy Consumption
Be mindful of the energy usage of additional devices. Choose energy-efficient options to maintain savings on utility bills.
Document Your Setup
Keep a record of all your devices, automations, and network configurations. This will make troubleshooting and future upgrades easier.
Scaling your DIY home automation system should be a fun and rewarding process. By following these tips and continually learning about new technologies, you can create an intelligent home that grows with your needs and desires.
Troubleshooting Common Home Automation Issues
Encountering issues in your DIY home automation system is common, especially as you start integrating more devices. Here’s how you can efficiently identify and solve typical problems:
Connectivity Problems
If devices frequently disconnect or fail to respond, check your Wi-Fi strength in the area. Consider a Wi-Fi extender or a mesh network to improve coverage. Ensure all devices are compatible with your network’s frequency.
Device Incompatibility
Before purchasing new devices, verify their compatibility with your existing home automation system. Use devices that support standard protocols like Z-Wave, Zigbee, or Wi-Fi.
Software Glitches
Keep your system’s software and all connected devices updated. Updates often fix bugs and improve performance. Restart your hub or device if problems persist.
Unresponsive Automation
Check the automation rules in your home automation platform. Errors in setting conditions or triggers can cause failures. Revise your configurations or reset them if necessary.
Overlapping Signals
Too many devices in close proximity might interfere with each other. Distribute your devices evenly or consider dual-band routers if using Wi-Fi-connected gadgets.
Security Concerns
Regularly update your passwords and consider a robust firewall to protect your system. Enable two-factor authentication for enhanced security against unauthorized access.
By addressing these common issues, you can restore and enhance the functionality of your DIY home automation system, ensuring it reliably performs its intended tasks.
Conclusion: The Future of Home Automation
As we wrap up this guide on DIY home automation for beginners, let’s look ahead. The future of smart homes is bright and promising, with technological advancements continuing to enhance the way we live. Imagine a home that not only responds to your commands but also anticipates your needs, learning from your habits and adapting to your lifestyle.
Innovation in AI and machine learning is already shaping the next wave of smart home advancements. We can expect more intuitive and proactive systems that offer even greater convenience and energy efficiency. The integration of renewable energy sources like solar power might become standard in smart homes, further promoting sustainability.
As voice assistants and AI become more sophisticated, managing your home will require even less effort. Integration with health monitoring devices could mean that your home will take care of you, alerting you to health concerns based on environmental readings.
Communication among devices, often called the Internet of Things (IoT), will grow denser, unlocking new possibilities for automation. New protocols may emerge, making diy home automation even more accessible and affordable.
Whatever the future holds, starting your diy home automation journey now means you’ll be part of this exciting evolution. Remember that flexibility, security, and ease of use remain fundamental as you build and scale your system.
With a careful approach, centered on understanding and choosing the right components for your needs, your journey into the world of home automation will undoubtedly be enriching. So, embrace the learning curve and look forward to a smarter, more responsive, and more efficient home. The future is smart, and so is your home!
