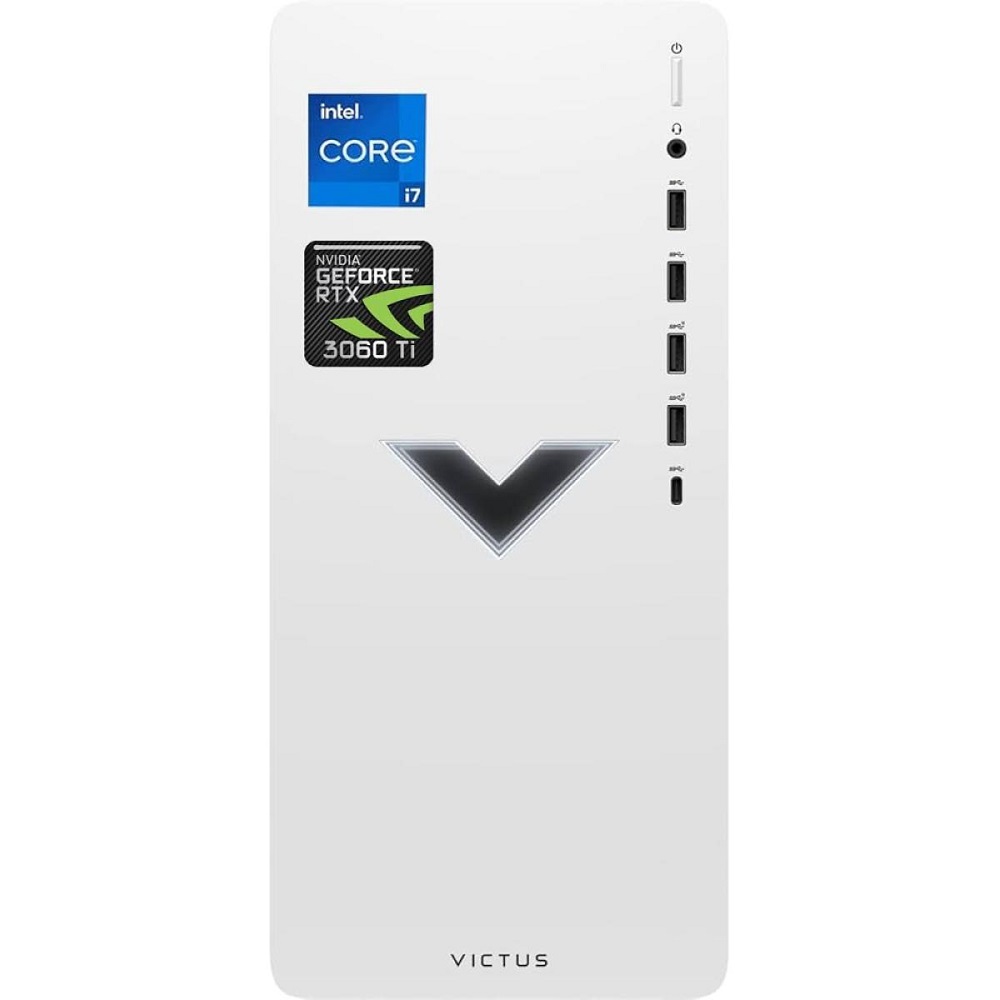
The Victus desktop by HP has garnered attention for delivering powerful performance tailored to gamers. Equipped with impressive specs, this desktop is built to handle the latest games and heavy multitasking. However, setting it up properly ensures you can maximize its potential right from the start. This comprehensive guide will walk you through the setup process in a step-by-step manner, making your gaming experience as smooth as possible.
Unboxing Your Victus Desktop
What to Expect in the Box
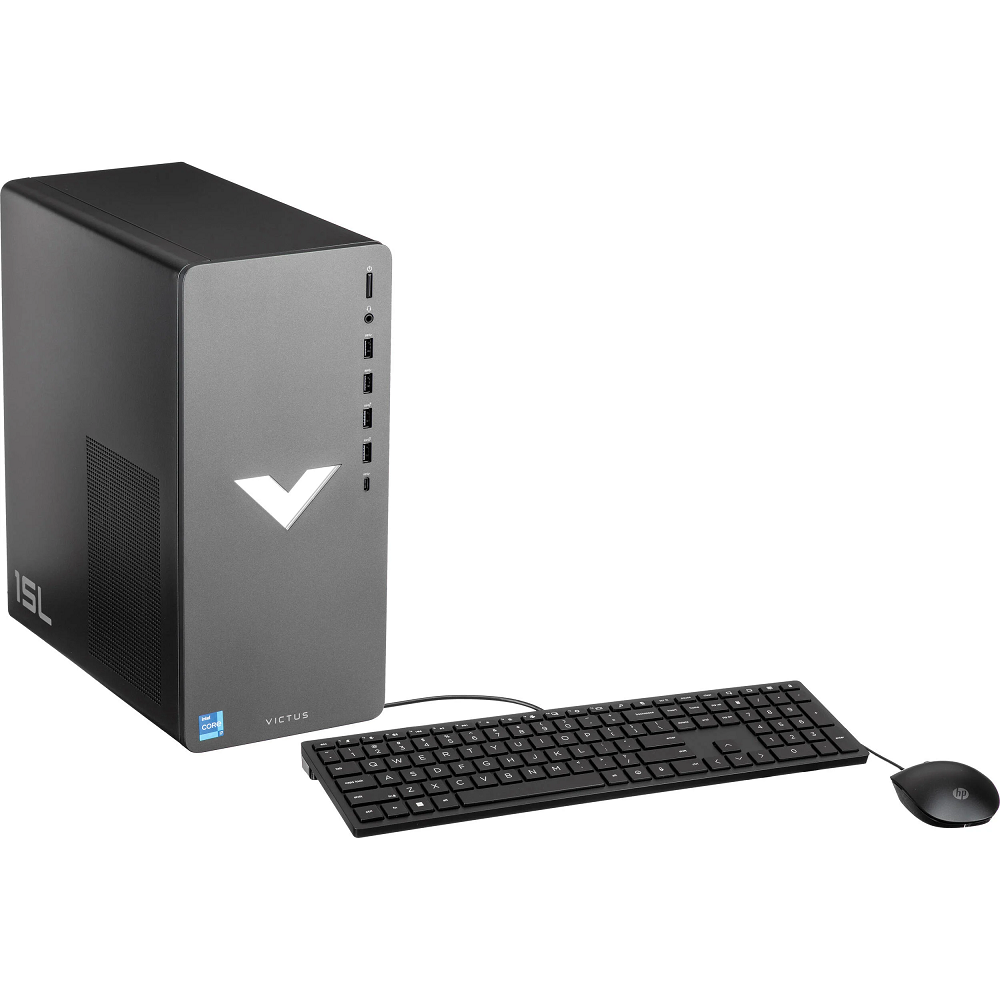
The unboxing experience sets the tone for your new gaming rig. When you first open the package, carefully inspect its contents. The box should include the Victus desktop tower, a keyboard, a mouse, a power cable, and user manuals. Some models may come with additional accessories, such as a wireless adapter or gaming headsets.
Take a moment to remove all items from the packaging. Set aside the manuals for later use, as they contain essential information about warranty and troubleshooting. Ensure you have everything you need for the setup process. Keep the cardboard box handy; it can provide extra protection when transporting your desktop in the future.
Checking for Damage
Before proceeding with the setup, examine your Victus desktop for any visible damage. Look for dents, scratches, or loose parts. If you notice any significant issues, it is best to contact the retailer or HP support immediately. Take photos of the damage for reference.
By addressing any problems now, you can avoid complications down the line. It is important to ensure that your new investment is in perfect working condition from the outset. This step is crucial for a smoother gaming experience.

Choosing the Right Location
Identifying the Best Spot
After unpacking and inspecting your desktop, the next step is to choose a suitable location for it. Consider factors such as accessibility, ventilation, and proximity to power outlets. Ideally, place your Victus desktop on a sturdy desk with enough space for gaming accessories like a monitor, keyboard, and mouse.
Ensure that the desktop is situated away from direct sunlight or extreme heat sources. Excessive heat can lead to overheating, potentially shortening the lifespan of your components. Additionally, keep the area around the desktop free from clutter to allow for proper airflow and cooling.
Managing Cables
As you set up your desktop, consider cable management. Using cable ties or clips can help organize power and data cables, reducing clutter and improving aesthetics. An organized setup not only looks neater but can also improve airflow around the desktop. This detail is particularly important as it helps maintain performance during long gaming sessions.
Having an efficient workspace will make your gaming experience more enjoyable and reduce the chances of accidentally unplugging cables during intense gameplay. A tidy setup enhances focus, allowing you to immerse yourself fully in your gaming worlds.
Connecting Components
Setting Up Your Monitor
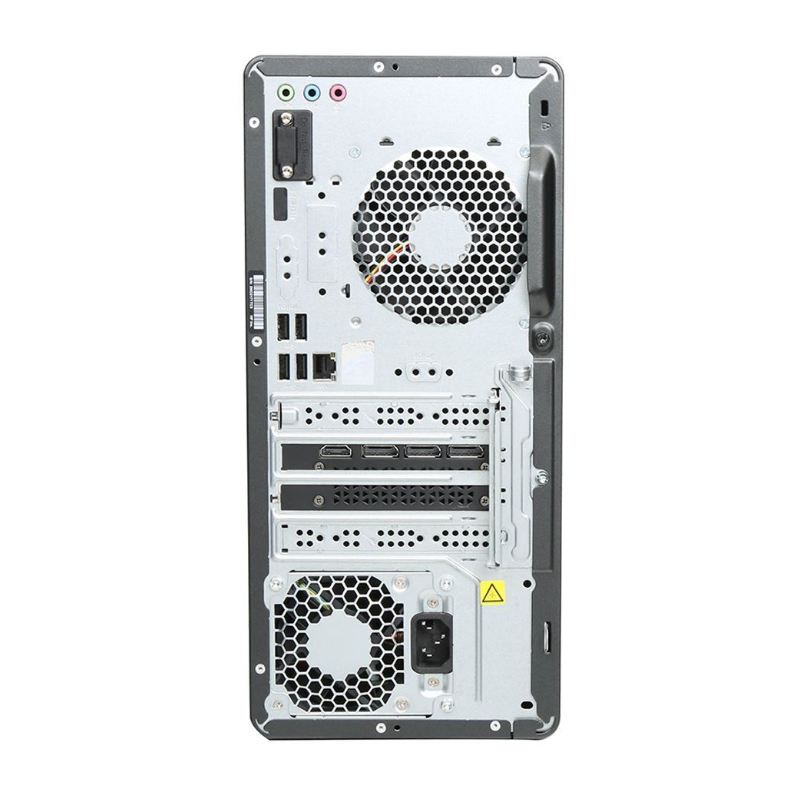
With a suitable location chosen, it’s time to connect your desktop to a monitor. If you have a separate monitor, take the necessary cables—HDMI or DisplayPort—to connect your desktop to the display. Plug one end of the cable into your monitor and the other into the appropriate port on the back of your Victus desktop.
Make sure to select the correct input source on your monitor settings to ensure the display works properly. If using multiple monitors, repeat this process for any additional screens. This multi-monitor setup can significantly enhance your gaming experience, providing more screen real estate for multitasking or broad visibility in games.
Connecting Other Peripherals
After setting up your monitor, proceed to connect your keyboard and mouse. If you’re using wired devices, plug them into the USB ports on the front or back of your desktop. For wireless devices, follow the manufacturer’s instructions to complete the pairing process. Ensure that batteries are charged or fresh to avoid issues during setup.
Consider adding additional peripherals such as a gaming headset, speakers, or external storage devices. This is a good time to connect all the equipment you may need for gaming. Properly connected peripherals will make your gaming experience more immersive and enjoyable.

Powering Up and Initial Setup
Starting Your Victus Desktop
With all components connected, the moment has arrived to power up your Victus desktop. Locate the power button on the front or top of the tower. Pressing it will initiate the boot-up process. You may hear fans spinning or see lights illuminating, indicating that your system is powering on successfully.
Be patient during this process as the operating system initializes. Depending on the system configuration, the boot time may vary. Once the desktop is powered on, and you see the Windows logo, you are on the right track.
Completing the Operating System Setup
After the initial boot, you will need to set up the operating system. Follow the on-screen instructions for configuration. This process generally includes selecting your language, region, and keyboard layout. You may also be prompted to connect to a Wi-Fi network, so ensure that you have your network details ready.
During setup, you’ll have the option to sign in with a Microsoft account or create a local account. Using a Microsoft account allows you to access features such as cloud storage and syncing your settings across devices. Once setup is complete, you will reach the desktop environment, where you can begin personalizing your settings.
Installing Updates and Drivers
Checking for Windows Updates
After setting up the operating system, it is crucial to check for updates. Windows updates provide essential security patches and augment system performance. To do this, open the Windows settings by clicking the Start button and selecting the gear icon. Navigate to the ‘Update & Security’ section and click ‘Check for updates.’
Allow the system to download and install any available updates. Restart the desktop as needed during this process. Keeping your system up to date boosts security and ensures that you have the latest features and improvements.
Installing Graphics Drivers
If you want to get the most from your gaming experience, install the latest graphics drivers. These drivers optimize performance for games and improve visual quality. Visit the manufacturer’s website for your graphics card (either NVIDIA or AMD) to download the appropriate drivers based on your model.
Once you have downloaded the drivers, follow the installation prompts and restart the desktop afterward. Keeping graphics drivers up to date can have a significant impact on gameplay and overall performance. This step ensures that your system is ready for even the most demanding games.

Customizing Your Desktop Experience
Personalizing Settings
Now that your system is up and running, take some time to customize your desktop environment. Start by adjusting the display settings to match your preferences. You can change the resolution, refresh rate, and scaling options to enhance your gaming visuals. Right-click on the desktop and choose ‘Display settings’ to access these options.
You may also want to organize your desktop icons for easier access to your most-used applications and games. Creating folders or grouping icons can free up space and improve organization. A tidy desktop allows you to navigate quickly and enhances your productivity, especially when multitasking.
Installing Game Platforms
To start gaming, you will need to install platforms such as Steam, Epic Games Store, or Origin. Visit the website of each platform, download the installer, and follow the prompts to complete the installation. Each platform will allow you to access a vast library of games, manage downloads, and receive updates.
Consider browsing through the platforms to find and install the games you want to play. Setting up your game library in advance will ensure that you are ready to dive into gaming as soon as you have everything configured.
Optimizing Performance for Gaming
Adjusting Power Settings
To ensure your Victus desktop performs well during gaming, it is essential to adjust the power settings. Navigate to Control Panel > Hardware and Sound > Power Options. Choose the ‘High Performance’ plan to optimize performance while gaming. This step ensures that your hardware works at its best without any energy-saving compromises.
Additionally, you may want to customize more advanced settings within the power plan to maximize performance. Adjust settings related to the CPU, sleep options, and other power-related tasks based on your specific needs.
Monitoring Performance and Temperatures
Keeping an eye on your system’s performance can help you identify potential issues before they escalate. Use performance-monitoring software such as MSI Afterburner or HWMonitor to keep track of CPU usage, GPU loads, and temperatures. These programs provide insights into how your system manages performance while gaming.
By monitoring temperature levels, you can ensure that your desktop does not overheat during extensive gameplay. Maintaining optimal temperatures often requires ensuring proper airflow and cleanliness within your PC case. Regular cleaning of dust from fans and filters will keep your system primed for gaming.
Ready to Game with Your Victus Desktop
Setting up your Victus desktop has been a rewarding journey, and you are now ready to enjoy an exceptional gaming experience. By following this step-by-step guide, you have ensured that your desktop functions efficiently. From unboxing and connecting components to customizing settings and optimizing performance, you’ve covered all essential aspects of setup.
Embrace your new gaming rig by exploring its capabilities, testing performance, and connecting with friends in the gaming community. With a little patience and attention to detail, you have created an environment that enhances productivity and entertainment alike. Enjoy the thrill of gaming in high performance, and immerse yourself in the digital worlds that await you!
